Omni Custom Apps – Developer Guide
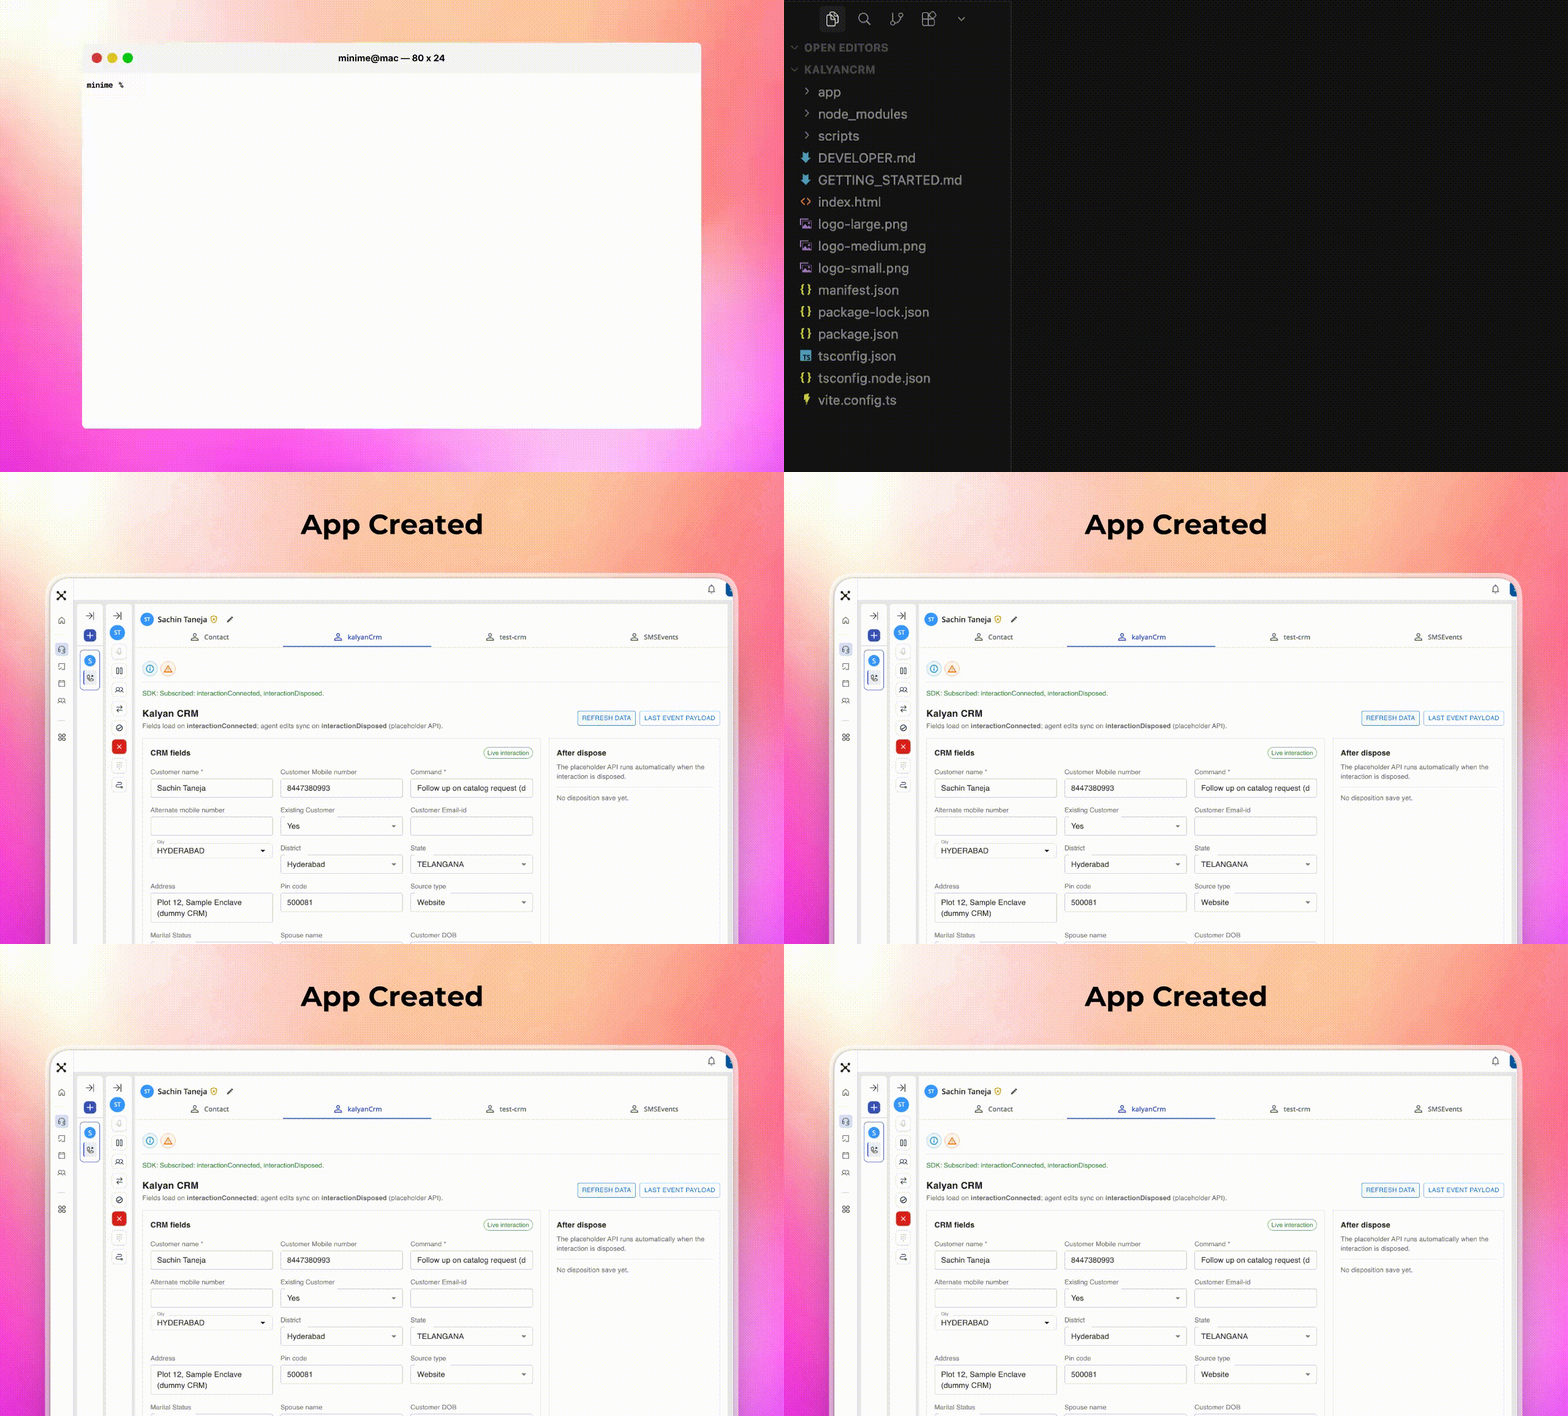
Omni Custom Apps let you extend the contact center by embedding custom functionality directly within the agent workspace. These apps run inside an iframe and connect to the platform using the Omni SDK, which gives you access to real-time events like calls, messages, and agent actions.
In practice, this means you can build things like CRM integrations with screen pop, messaging triggers, call workflows, or lightweight agent assist tools—all directly inside the agent interface.
Getting started (takes a few minutes)
Start by installing the CLI globally:
Then generate your app:
You’ll be asked whether you want a blank app or a template. If you’re exploring, templates are faster—they give you working UI and patterns you can modify instead of starting from zero.
Once the project is created:
That’s enough to get a running app locally with the SDK already wired up.
When you’re ready to deploy:
This produces an omni-upload.aaex file, which you upload via Admin → App Manager.
What’s actually happening under the hood
The generated app already handles the hard parts:
- Loading and initializing the Omni SDK
- Setting up event subscriptions
- Wiring the app into the iframe environment
- Packaging the app in the correct .aaex format
You’re not building integration plumbing—you’re building the actual use case.
The important implication: don’t touch the SDK setup unless you know exactly why.
How you should build (this is where most teams go wrong)
The fastest way to build these apps isn’t manually—it’s with AI.
Every generated project includes a DEVELOPER.md file. This isn’t documentation fluff—it’s a contract that tells AI tools exactly how to work within the system.
The intended workflow is simple:
- Add DEVELOPER.md in any AI agent console and say 'Let's Begin'
- Describe what you want to build
The agent will:
- Ask a few clarifying questions
- Implement the feature directly in your codebase
- Stay within the allowed SDK and UI patterns
If you follow this, you can go from idea to a working app in minutes. If you ignore it, you’ll end up manually wiring things the scaffold already solved.
UI expectations (keep this simple)
Use the Signal Design System (@exotel-npm-dev/signal-design-system) as your default. It’s already included—you don’t need to install anything extra. Running npm install pulls it in automatically.
These components are built to match the agent interface and behave correctly inside an iframe, which is where most custom UIs break.
If something truly isn’t available, you can fall back to MUI—but that should be rare.
The practical rule: start with Signal, only deviate if you hit a real limitation.
Project layout (what you actually need to care about)
You don’t need to understand the entire repo. Focus on this:
- app/components/useCases/ → where your feature logic lives
- app/omni/ → SDK integration (leave this alone)
- registerOmniSdk.generated.ts → where events are wired
- manifest.json → controls name, version, and deployment path
Everything else is supporting structure.
Also: keep SDK logic out of your UI components. Use the existing bridge layer. Mixing the two will make your app harder to maintain very quickly.
A couple of non-negotiables
There are two files you should not modify:
- loadOmniSdk.ts
- OmniProvider.tsx
They’re already aligned with the platform requirements. Changing them is the fastest way to introduce hard-to-debug issues.
Same goes for events:
- Only use documented SDK events and methods
- Don’t invent payloads
- Always handle errors properly
System Prerequisites
Before you code
- Node 18+, npm, zip (for ship)
- Run npm install in the folder with package.json
- Access to npm registry for @exotel-npm-dev/signal-design-system
Before you ship
- npm run ship → omni-upload.aaex
- App Manager upload + slot assignment
- manifest.json name / version match ECC URL
Before CRM works in Omni
- Field keys/types in crmIntegrationConfig.ts
- Test inside Omni iframe with a live interaction
Deployment details that trip people up
The packaging step (npm run ship) gives you a ready-to-upload .aaex. That part is straightforward.
Where things usually break is hosting.
Your app is served from a path like:
Those values come from manifest.json. If they don’t match your hosting setup, you’ll get missing JS errors (usually 404s on static files).
Also make sure you’re uploading the full dist/ output, including the static/ folder.
Troubleshooting (quick reality checks)
If something breaks, it’s usually one of these:
- JS files not loading → manifest mismatch
- Theme looks off → iframe or root theme issue
- Events not firing → wrong event name or silent error
- Build suddenly unstable → you ran npm audit fix --force
That last one is worth repeating: don’t do it. It tends to upgrade dependencies beyond what the template supports.
Why this setup exists
Without this scaffold, teams consistently run into the same problems:
- SDK initialization issues
- Incorrect event handling
- Broken iframe theming
- Invalid packaging
- UI that doesn’t adapt to the agent layout
This setup removes those variables so you can focus on what actually matters: building the workflow.
And if you lean into the AI workflow properly, you’re not just saving effort—you’re compressing build time from days to minutes.