Deploy Assistant in Exotel Contact Center
This guide helps you make your AI Assist Assistant available to agents during live calls.
Before You Start
Please make sure the following are ready:
- Your AI Assist Assistant is already created in the portal
- The AI Assist Configuration App is already installed in your Contact Center
- The correct Campaign ID is already mapped with the Assistant URL in the Configuration App
- You have downloaded the Assistant application file (file format ends with .aaex)
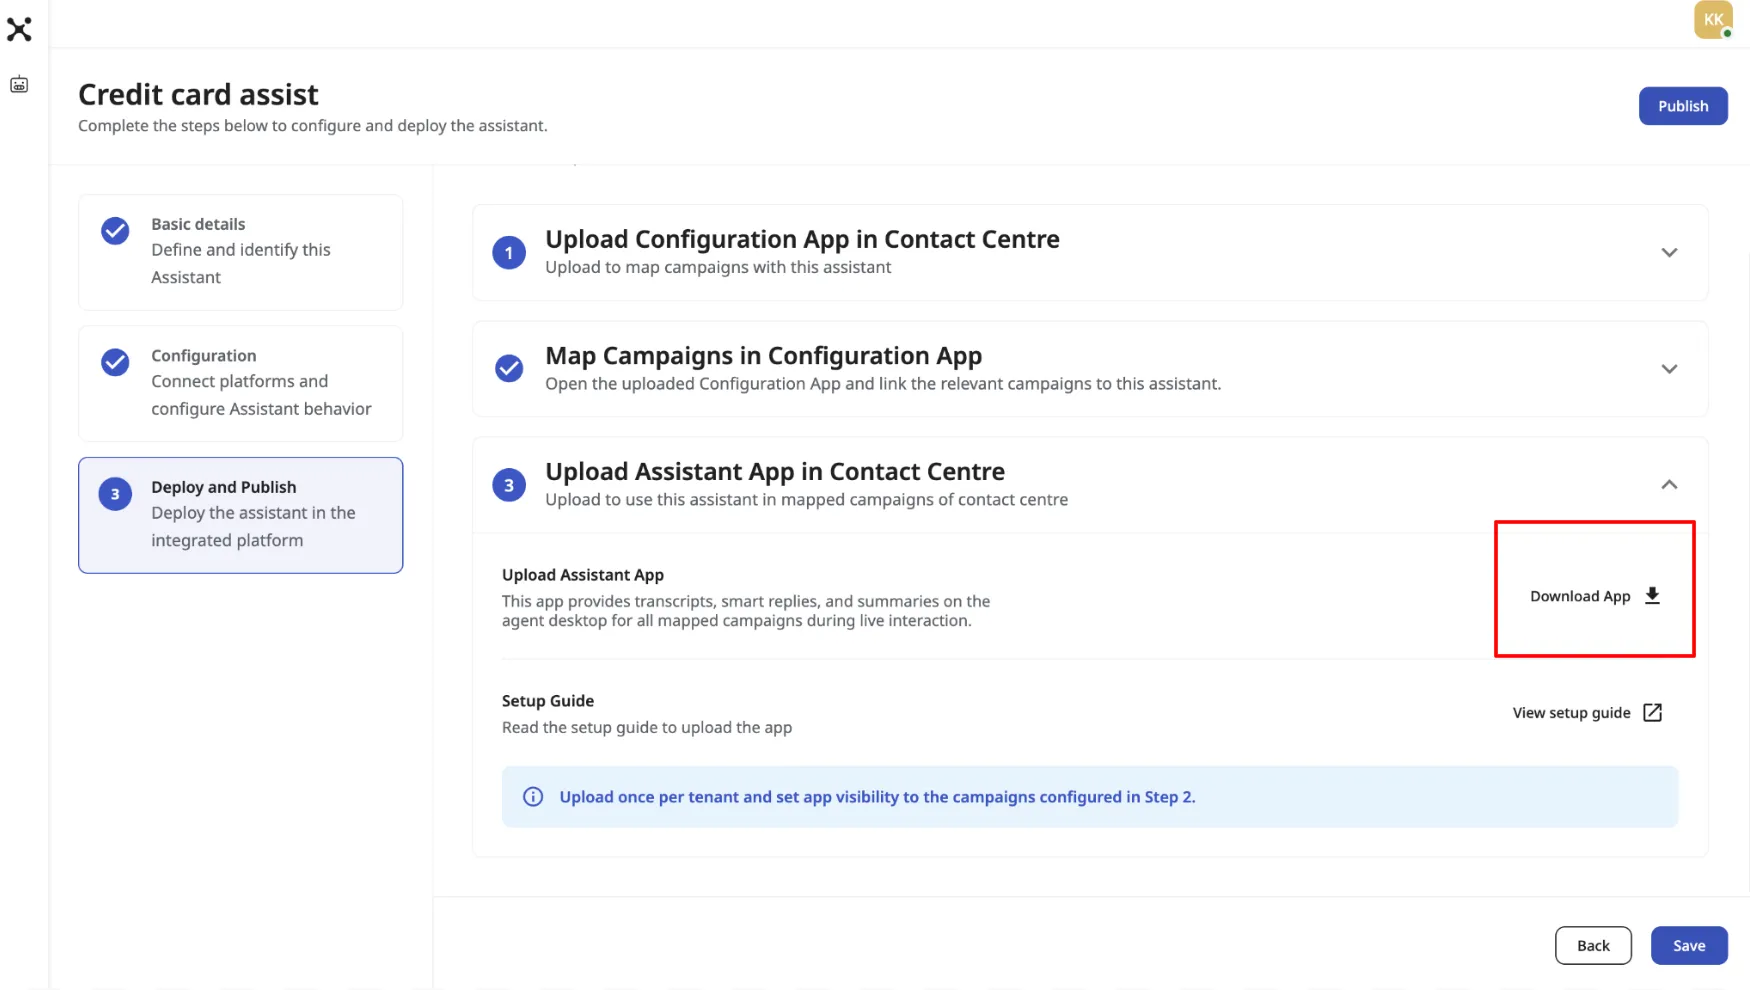
- Your calling campaign is already set up to send live audio
- You have administrator access to the Contact Center

If any of these are missing, complete them first before continuing.
⚠️ Important: If the Configuration App is not installed or campaigns are not mapped correctly, the Assistant App will appear but will not function.
Step 1: Upload the Application
- Sign in to the Contact Center using an administrator account
- Open the App Configuration tab
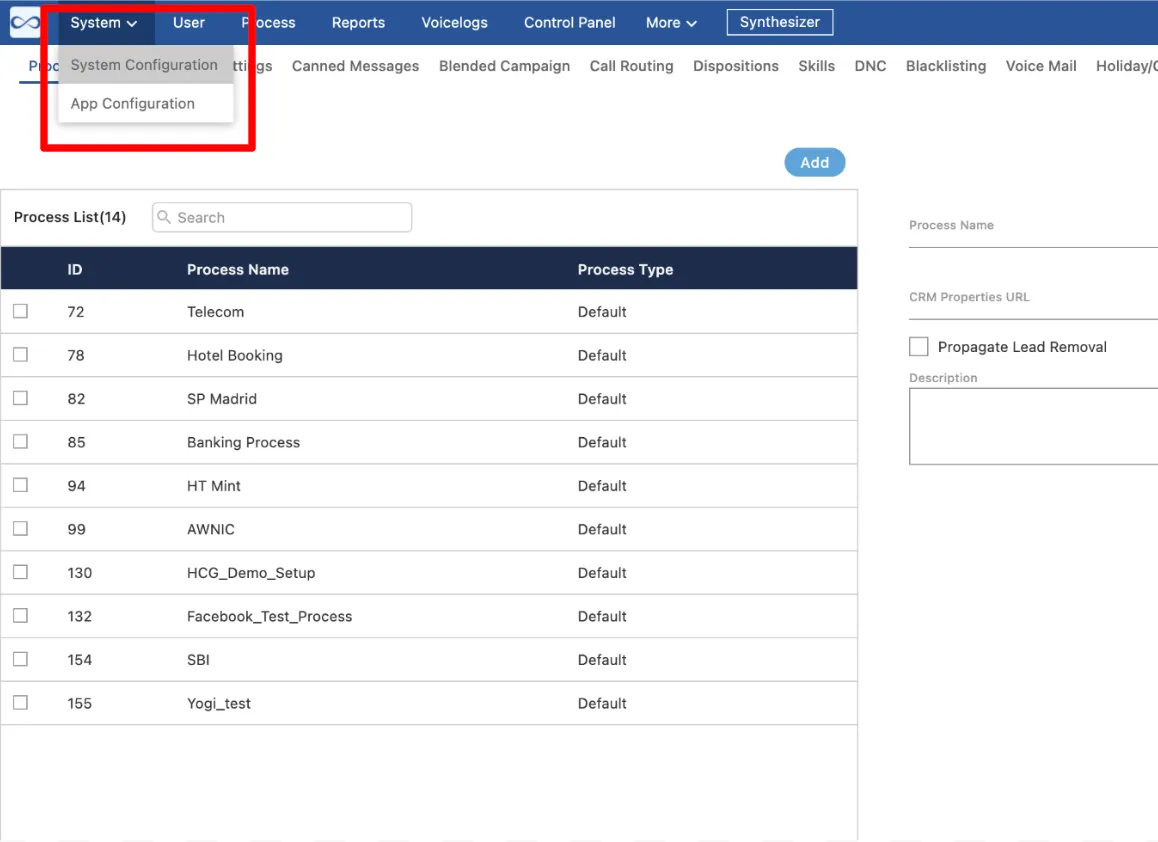
- Go to the section where applications are managed
- Upload the .aaex file you downloaded earlier
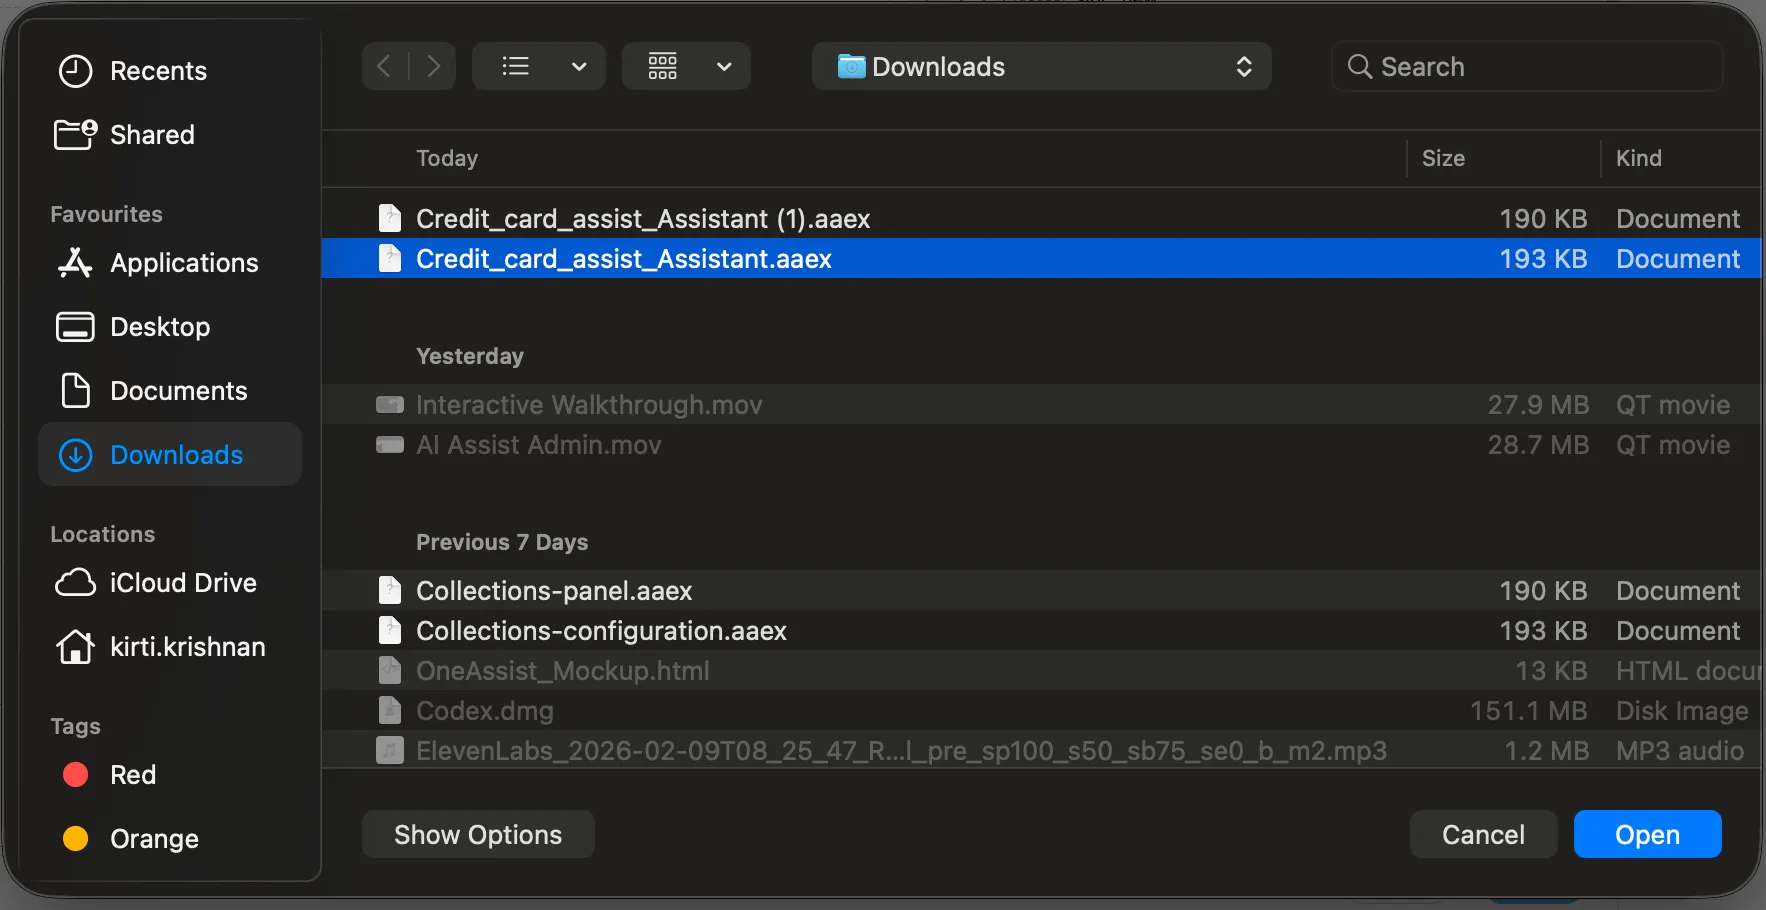
- Wait until the upload finishes
Once the upload is complete, the application will appear in your system and is ready to be configured.
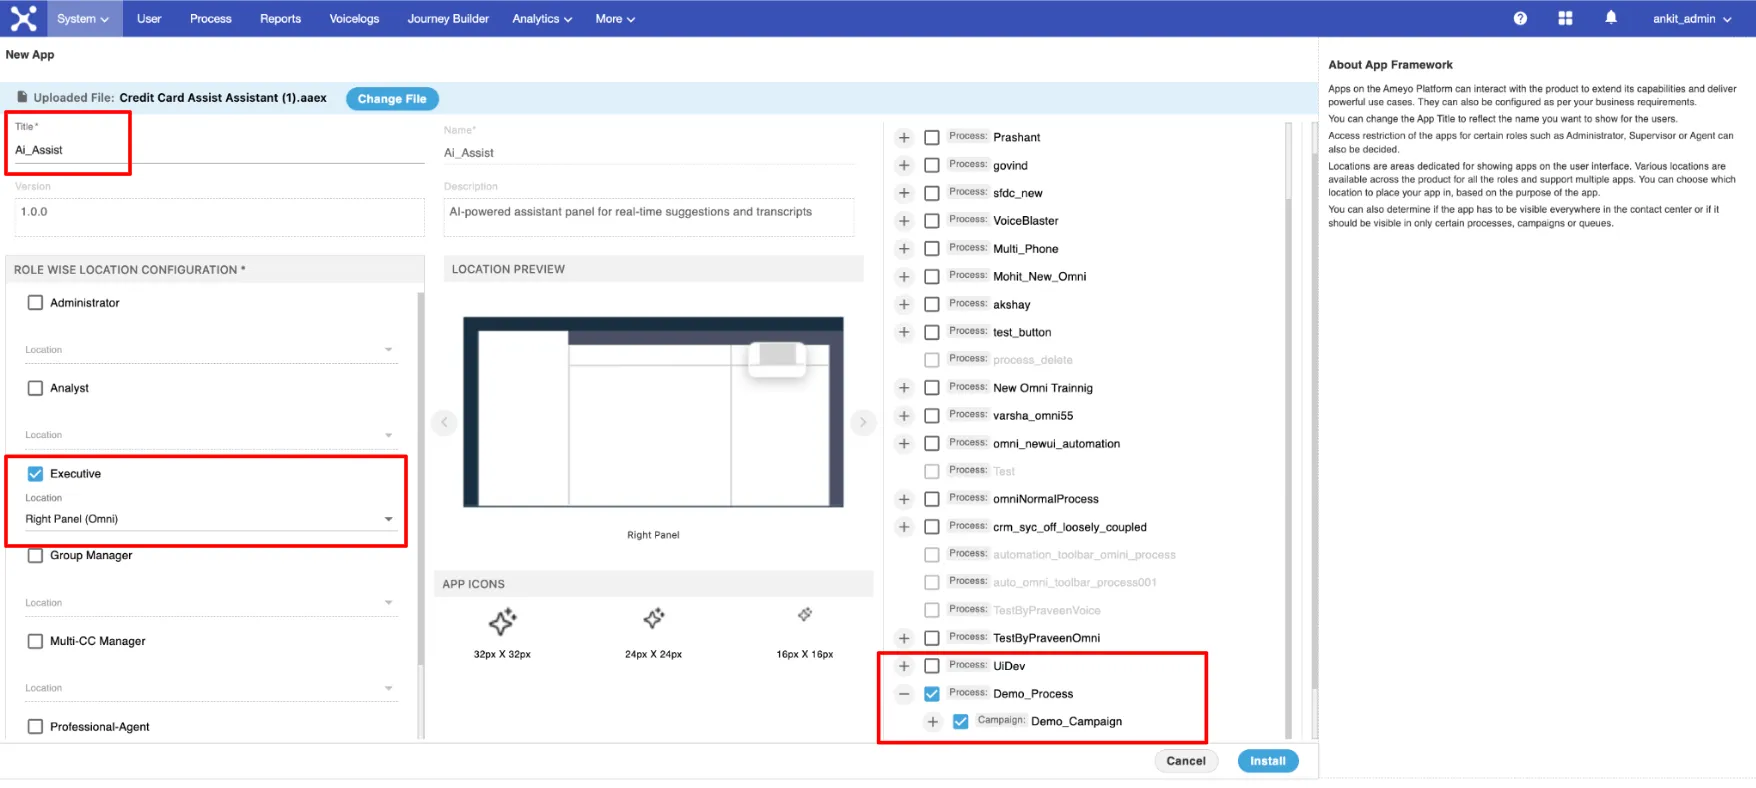
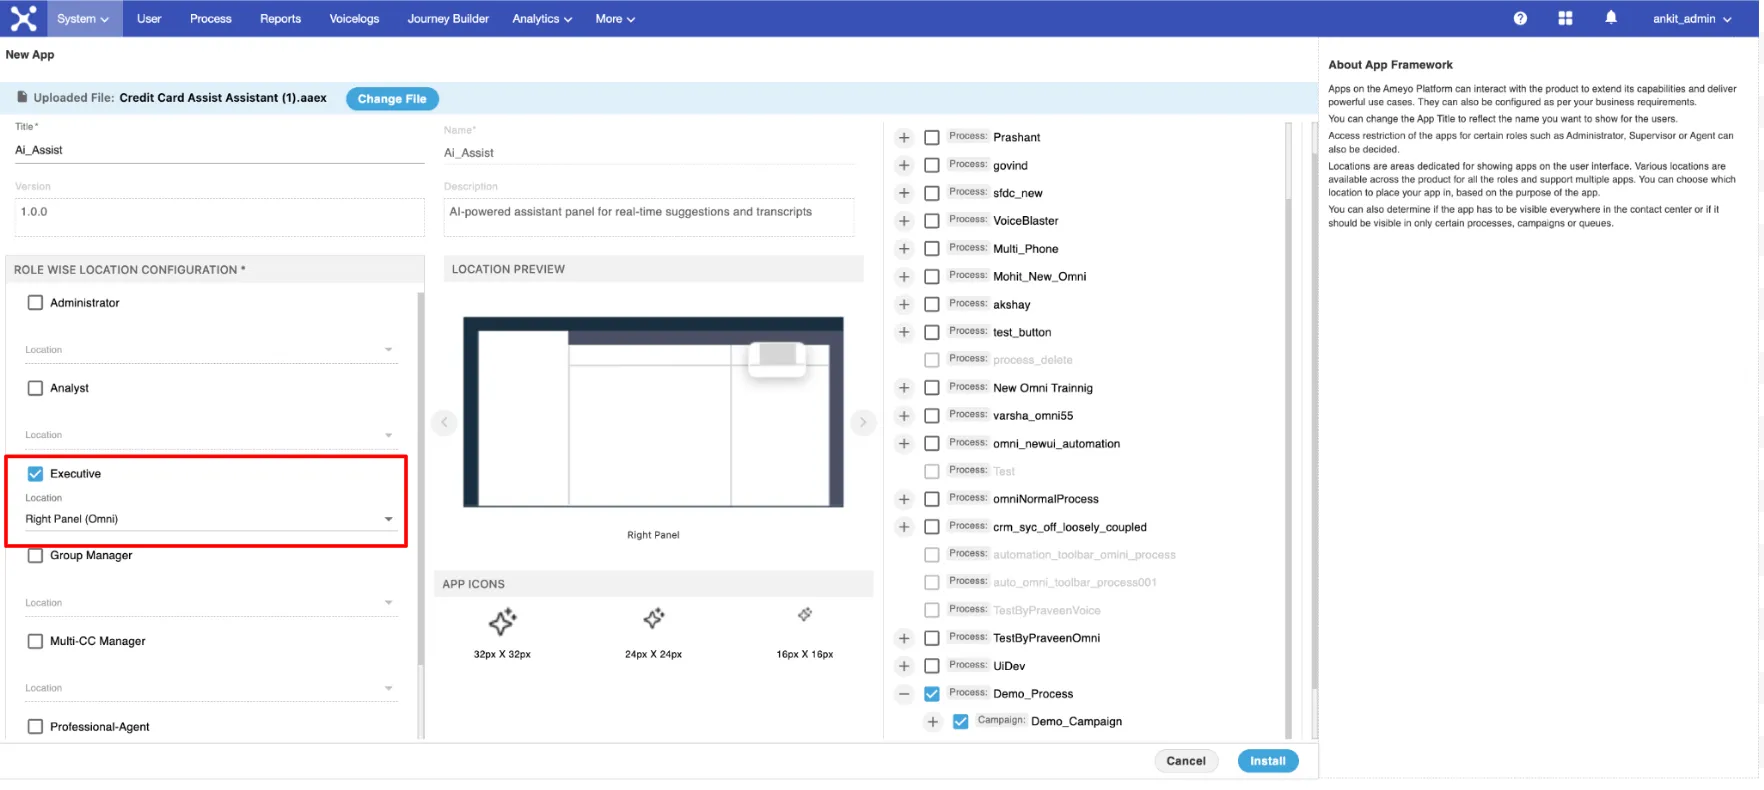
Step 2: Choose Where the Assistant Appears
This step controls where agents see the Assistant during calls.
Recommended placement
Place the assistant in the right-side panel of the agent desktop.
This layout ensures:
- The assistant is visible during live calls
- Transcripts and suggestions update correctly
- The panel can open automatically when a call starts in agent desktop
What to avoid
Do not place the agent in:
- Background-only areas
- Customer record sections
- Header-only or menu-only areas
These locations may load the app but will not support live call assistance properly.
Step 3: Decide Who Can See the Assistant
Next, choose which user roles can access the assistant.
At minimum, make sure:
- Agents are enabled
You may also allow access for:
- Supervisors
- Administrators
If agents are not enabled, the assistant will never appear for them, even if everything else is correct.
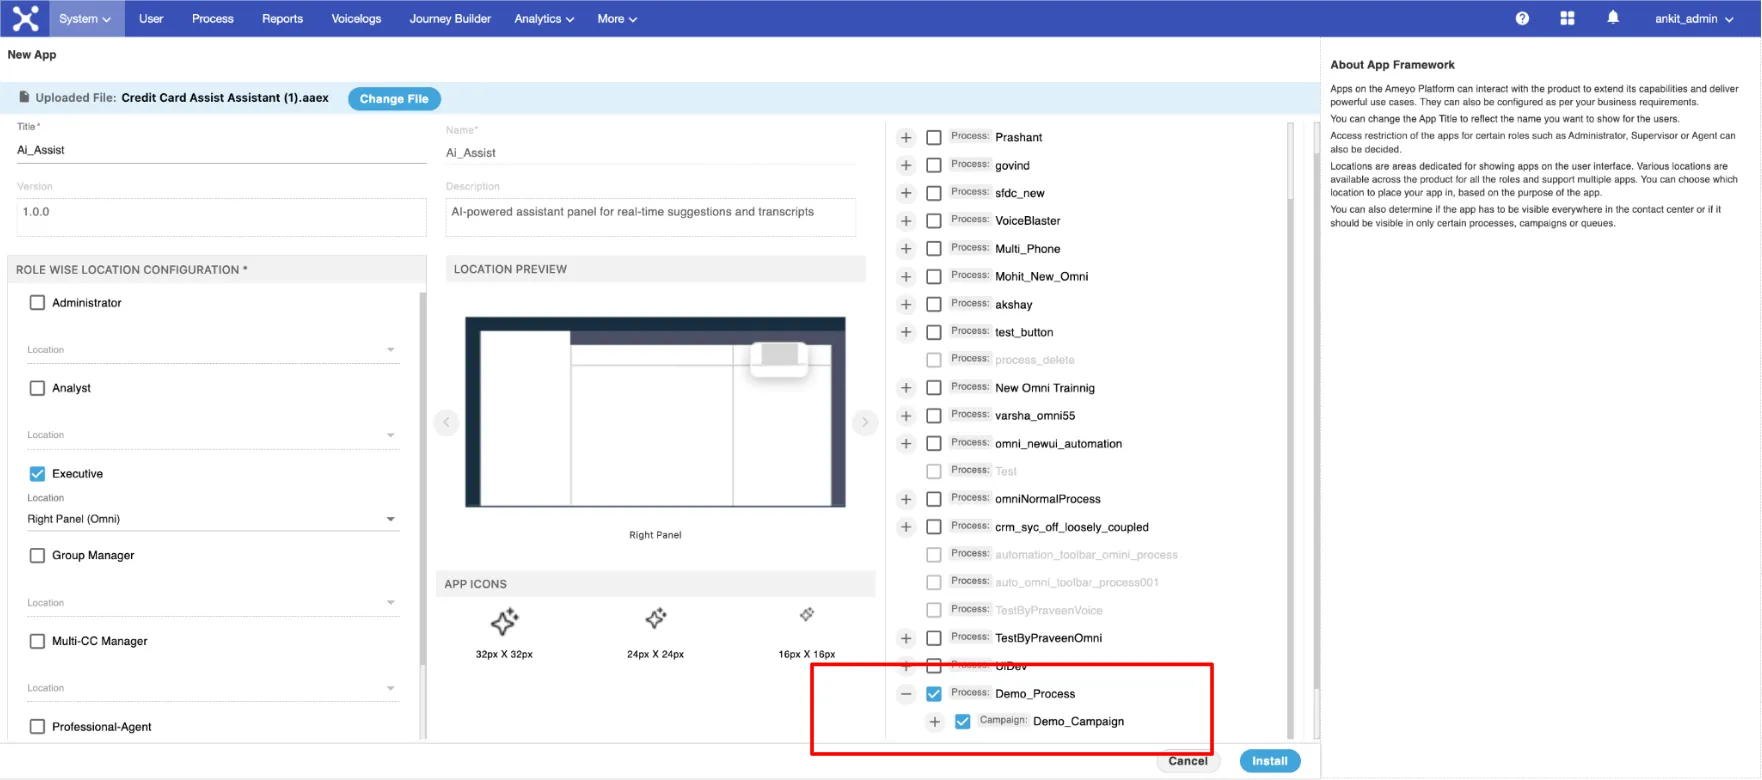
Step 4: Control When the Assistant Appears
Now choose when the assistant should be visible.
Select only:
- The exact campaigns that are mapped to this assistant in the ai assistant portal.
If the assistant is enabled for the wrong campaign, it may appear but will not work.
Step 5: Save and Apply Settings
After reviewing all selections:
- Save the configuration
- Apply or install the changes
- Wait for confirmation
The assistant is now available in the Contact Center, but it is not active yet.
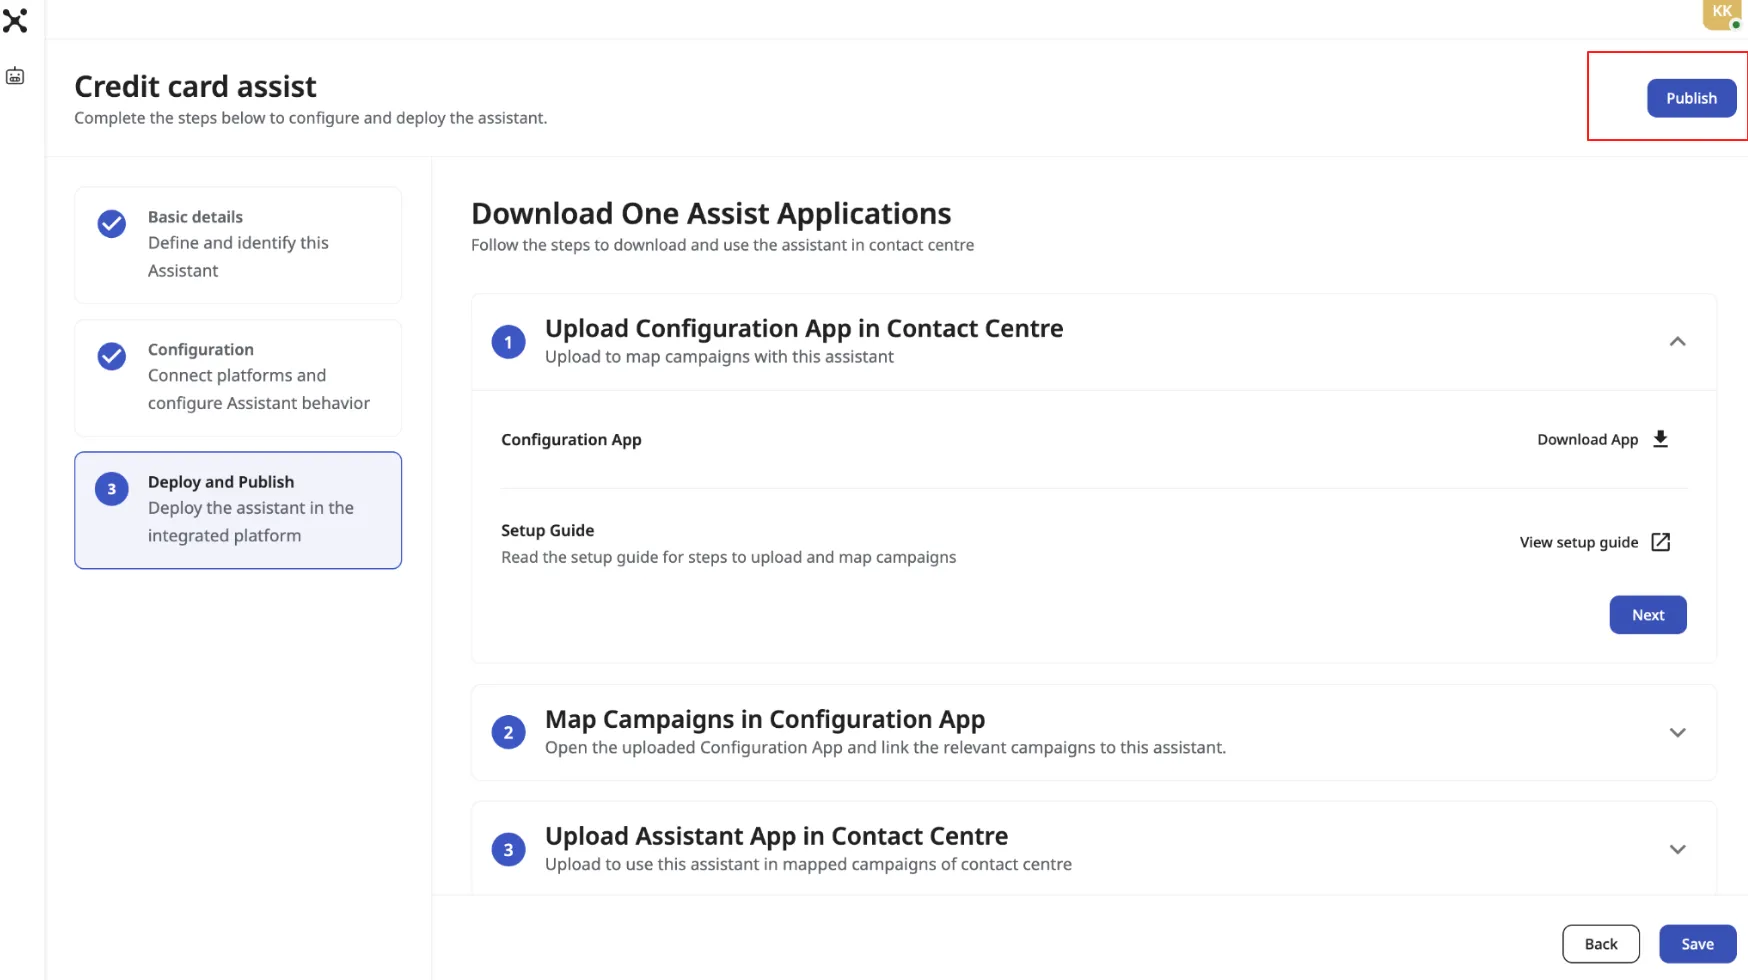
Step 6: Publish the Assistant
To make the AI Assistant actually work:
- Go back to the AI Assistant portal
- Open your assistant
- Select the option to publish it
Until this step is completed, the assistant will not respond during calls.
Step 7: Test with a Real Call
The only correct way to test the assistant is with a live call.
How to test
- Sign out of the administrator account
- Sign in as an agent
- Start a test call using the enabled campaign
- During the call, check that:
- The assistant appears on the right side
- Live text starts showing
- Suggestions begin appearing (if configured)
If this works, your setup is complete.
Quick Checklist
Before you finish, confirm all of the following:
- Application file uploaded successfully
- Assistant placed in right-side panel and right-side bar
- Agent role enabled
- Correct campaign selected
- Assistant published in the AI portal
- Tested using a real call
If all items are checked, your AI Assistant is live.