Callback Management in a Campaign
Here, Supervisor can add a callback, view the callbacks with filters, and manage them.
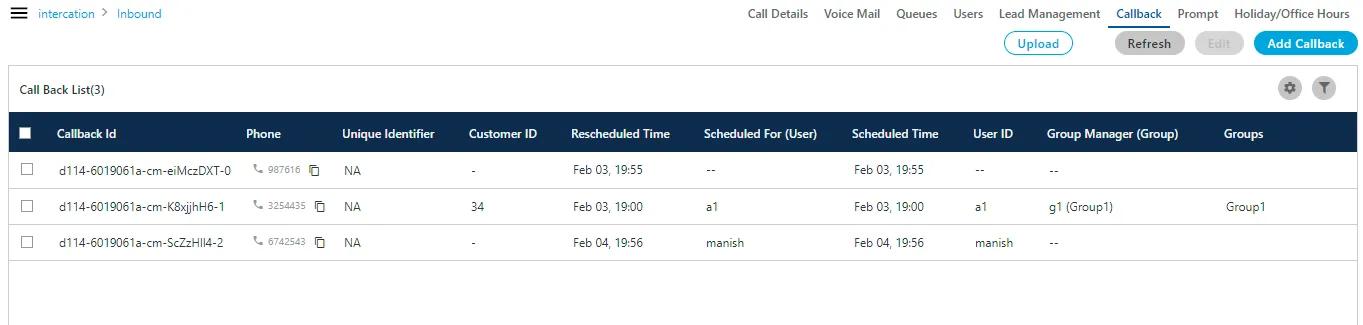
Supervisor can perform the following operations.
Add a Callback
Supervisor can add any callback by following the below steps.
- Click "Add Callback" button. It shows the following pop-up.
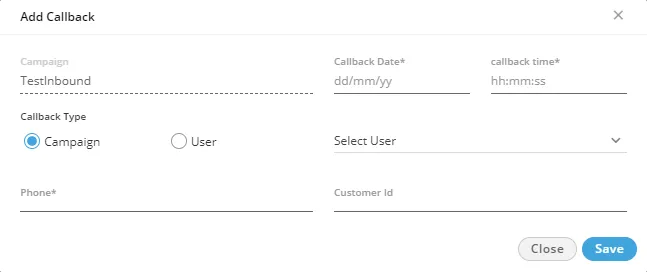
- Select the callback date & time (mandatory fields) from the calendar option.
- Select any of the following callback types.
- Campaign: Select it if the callback has to be scheduled for the respective campaign in which Supervisor is logged in.
- User: Select it if the callback has to be scheduled for a selected user. After selecting user, select the user, for whom callback has to be scheduled, in the drop-down menu.
- Enter the phone number (mandatory field) on which callback has to be scheduled.
- Enter the Customer ID, if applicable. Else, leave it blank.
- Click "Save" button to save the callback details.
Multiple Callbacks can be scheduled here.

Edit Callbacks
Select the Call from the list of the available callbacks which you want to reschedule. After selecting the call, the "Edit" button starts displaying at the left top of the page. Click "Edit" button. A pop-up containing complete detail of the call comes up.
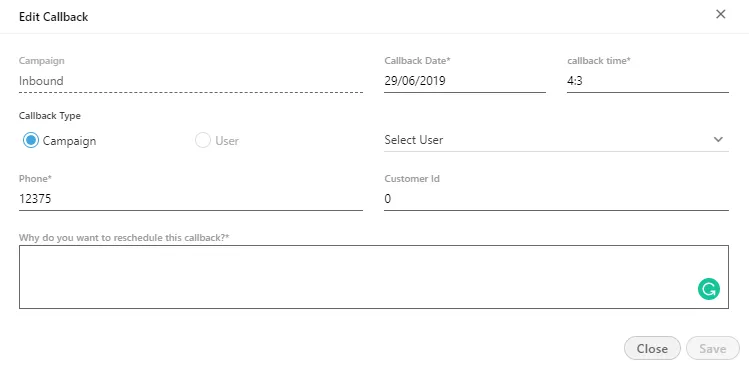
On the pop-up, you can change the Callback date, callback time, phone number, and the agent name as well. After changing all the information, you have to enter the reason for which you are rescheduling the callback. The reason is mandatory which means you have to fill it.
Click "Save" button to save the changes made.
Limitations for Editing callbacks
Following are some limitations of editing callbacks for the supervisor.
- Supervisor cannot change the campaign callbacks to user-specific callbacks, but user-specific callbacks can be changed to campaign callbacks.
- Supervisor cannot edit multiple callbacks at once. However, multiple callbacks can be deleted at once.
Search Callbacks
The supervisor can search for the callbacks with the help of customer's Id, Customer's phone number and customer's name. It helps the supervisor to search the callback with comparatively higher speed
Extract Callbacks
You can select multiple callbacks and click "Extract" in this pop-up to save the details of Callbacks as a CSV file on the disk. It shows the following dialog box.
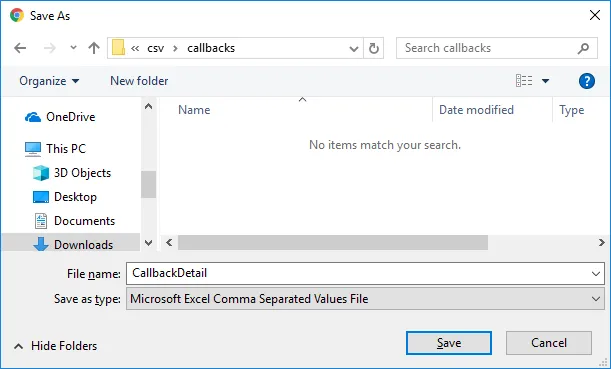
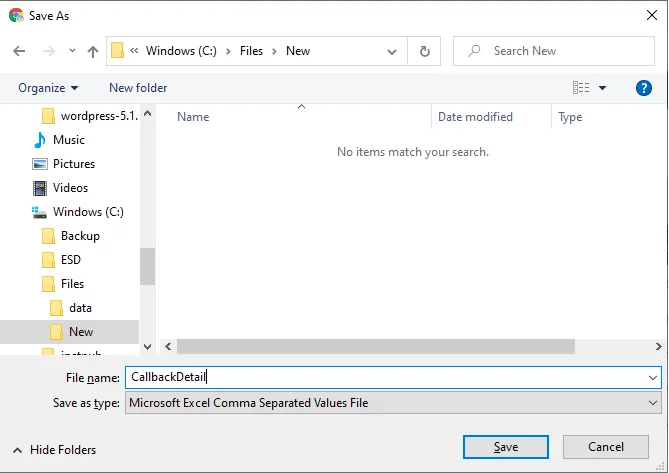
Select the location and provide a name to the file. Click "Save" to save the details of callbacks in a file.
Settings
The Supervisor can set callback configuration by clicking  icon to access the callback settings. It shows the following pop-up.
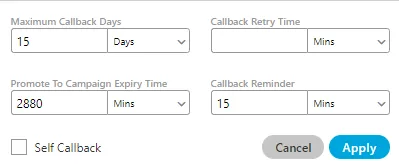
- Self Callback: If this option is enabled (checkbox is checked) then the callbacks set using force dispose would be self callback by default.
- Max Callback Days: Supervisor can define the maximum number of days after which the callback would be deleted from the system.
- Promote To Campaign Expiry Time (min): It refers to the maximum number of minutes after which the self callback (if not attended by the respective agent) will get expired and transferred to the campaign (that is it can then be routed to any available agent of the campaign).
- Callback Retry Time (min): It is the time after which callback will be dialed again in case it is failed in the previous attempt.
- Callback Reminder (min): It is the time before which the callback notification will be displayed in the notification bar of the respective agent or supervisor for the scheduled callbacks.
Filter the View
Supervisor can click  icon to filter the callbacks.
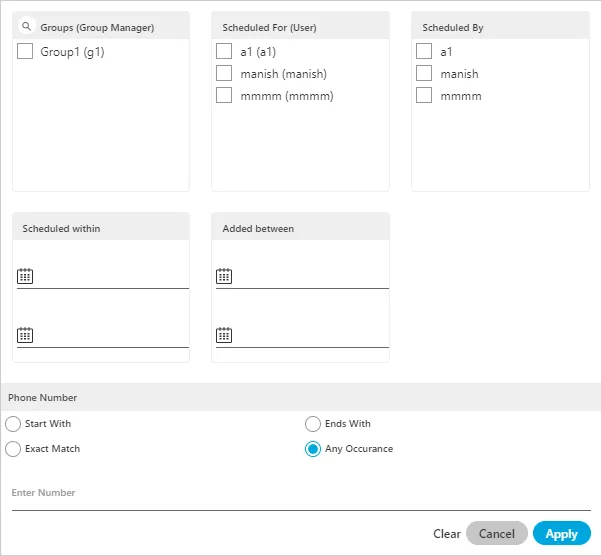
It contains the following filters.
- Groups (Group Manager): Select the name of the groups and group managers to whom the scheduled callback agent is assigned in.
- Scheduled for (User): Select the users of which callbacks have to be displayed.
- Scheduled within: Select the time range in "From" and "To" for those callbacks which are scheduled in the given time range.
- Scheduled By (User): Select the users who created the callbacks.
- Added Between: Select the time range in "From" and "To" for those callbacks which are scheduled in the given time range.
There is no need to provide date and time from different places. All can be done through one place. Click at "Scheduled By (User)" or "Added Between" to provide date and time simultaneously.
- Phone Number: The supervisor can also provide the phone number of to filter the callbacks scheduled for that phone number.
Click "Apply" to apply the filters. After applying the filters, the Supervisor can click "Clear" to clear the filter and restore the default view of the callbacks.
Delete Callback
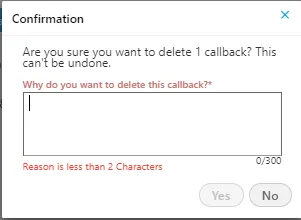
Click "Delete" button to delete the selected callback. A pop-up arises in which you have to provide the reason for which you are deleting the callback. Without providing the reason, the callback will not delete.
Notification for the Scheduled Callback
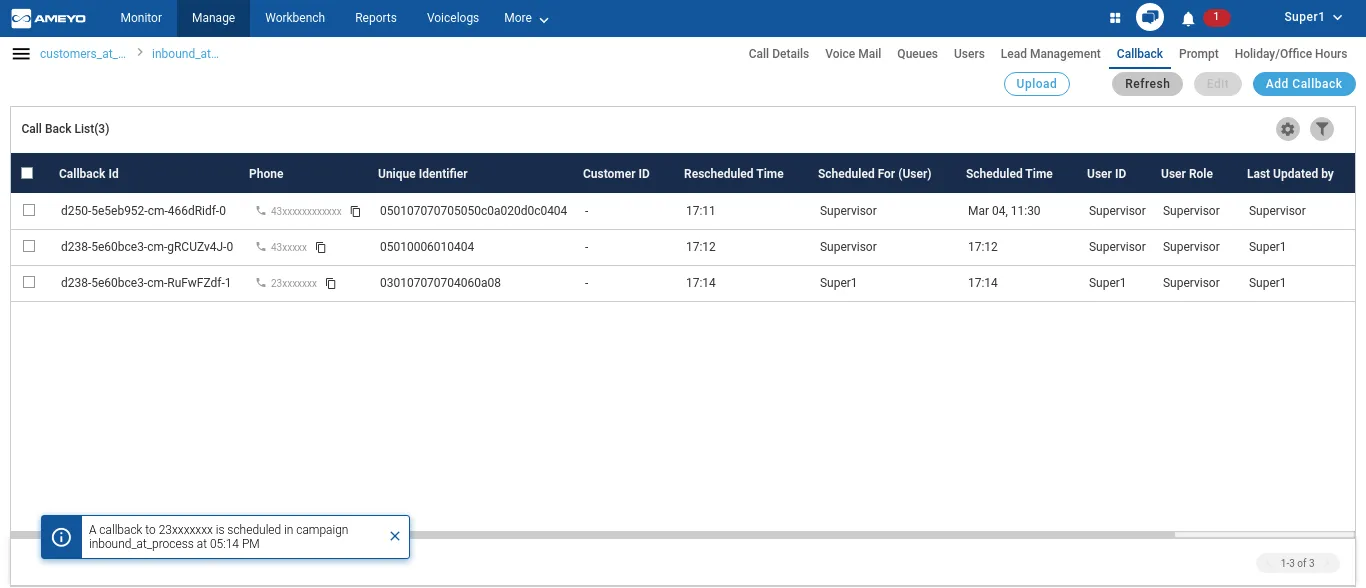
A notification will be shown to the supervisor when a callback has been scheduled in the campaign. It contains the phone number for which the callback is scheduled, the campaign name and the time for which the callback is scheduled.
If the number masking is enabled for that campaign, then it will mask the phone number in the displayed notification as well.
(Licensable) Bulk Migration of Callbacks between Campaigns
It is possible that those agents to which the callbacks are assigned has been moved to another campaign due to any reason. In such cases, the callbacks assigned to such agents can also be assigned back to them.
Perform the following steps.
- In the "Callback" tab, the following screen is displayed on which you have to upload the CSV.
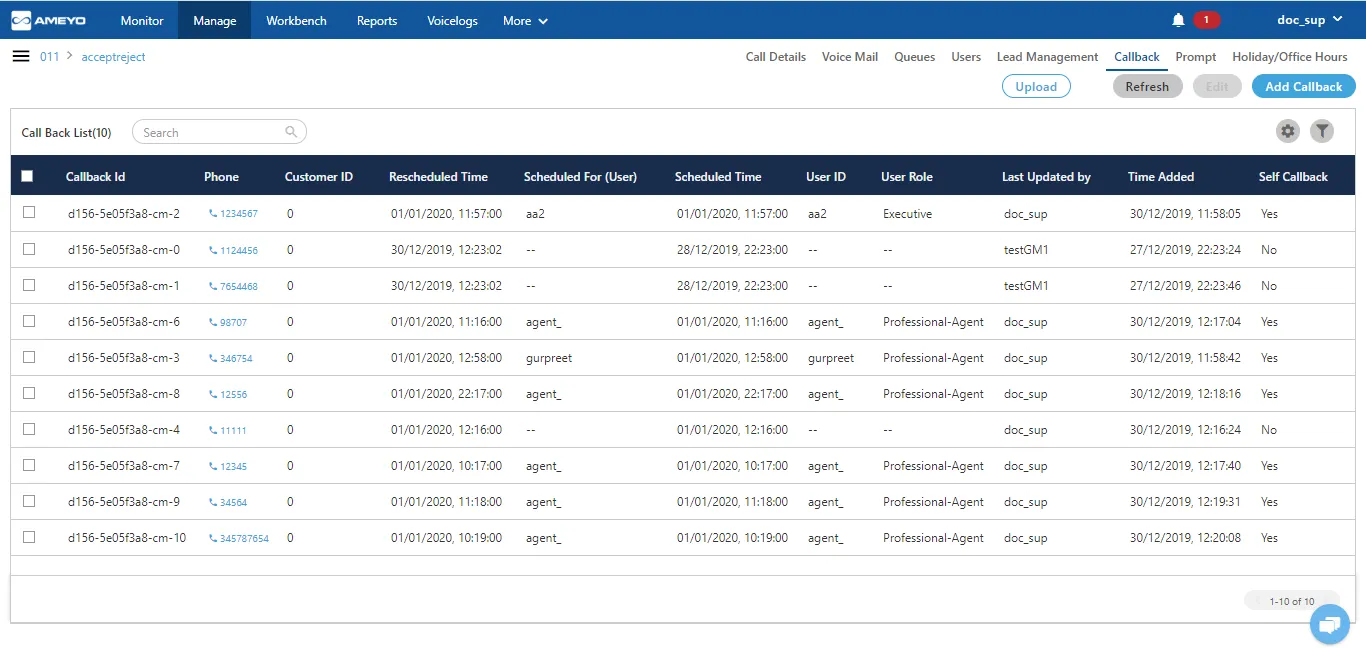
- Select the callbacks that have to be downloaded.
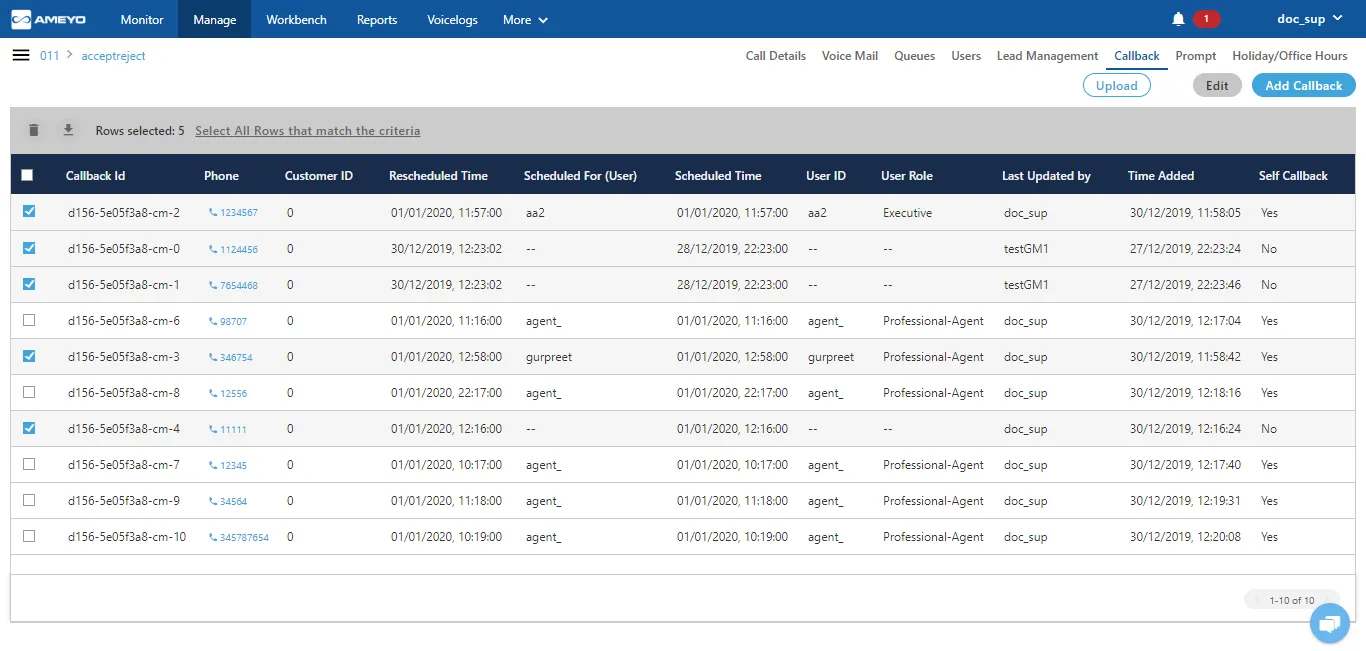
- The supervisor can select a maximum of up to 10,000 callbacks at a time.
- On a single page of callbacks, only 10 records are displayed. If you want to select all the records which are not visible on the page, then you can click "Select All Rows" link. It will select all the rows of callbacks.
- Click
 icon to export or extract these callbacks. It shows the following modal.
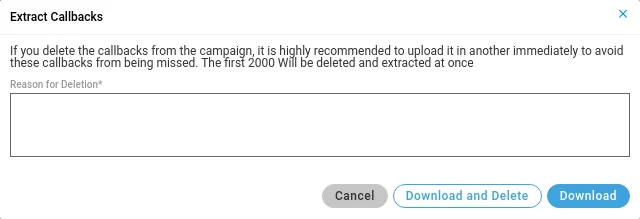
- Provide a reason to export or extract the callbacks.
- Click "Export" to export the callbacks and download them to a CSV file.
- Click "Extract" to export the callbacks to a CSV file and delete them from Ameyo System.This option is based upon "Save As" functionality of the Web browser. If "Ask where to save each file before downloading" or similar option is not checked, the CSV file will be saved at the default download location of the Web browser, of which name is "CallDetails". In this case, the Supervisor or the Group Manager does not get the option to change the name and path of the file.
It is recommended to keep the option "Ask where to save each file before downloading" checked so that you can specify the name and path to save the files.
If "Ask where to save each file before downloading" option is checked, then the following dialog box is displayed while saving the CSV file.
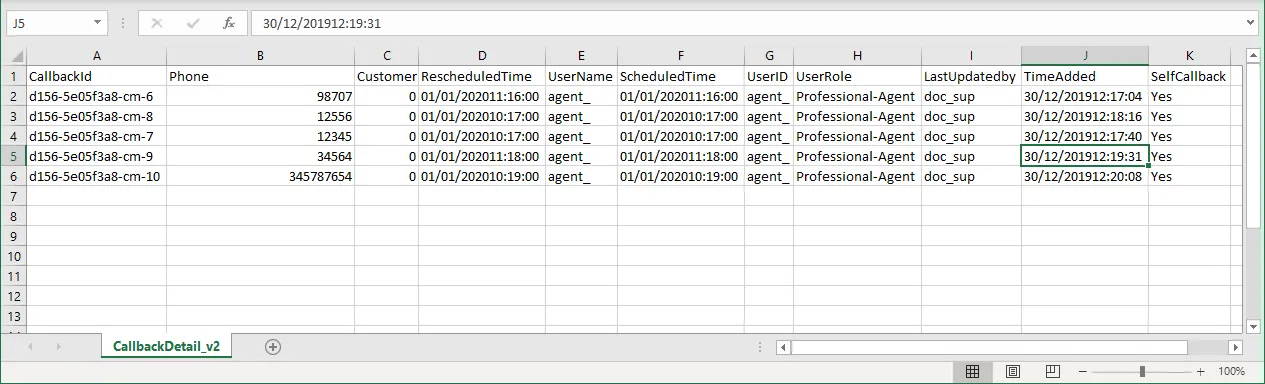
- The following screenshot shows a sample CSV.
Upload the Callbacks
Perform the following steps to upload the callbacks.
- Click "Upload" to upload the callbacks. It shows the following modal.
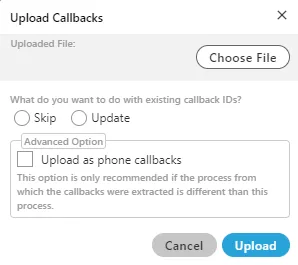
- Click "Upload" to upload the CSV files to add the callbacks. It shows the following modal.
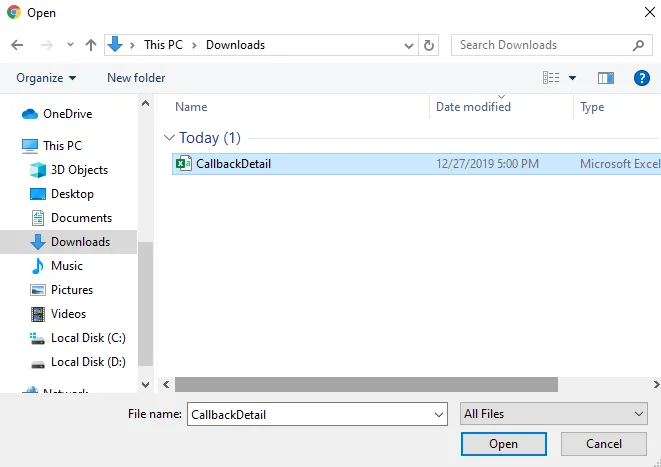
- Select the location where you have saved the file.
- Select the CSV file and click "Open" to open the file.
- CSV file is selected in "Upload CSV" Modal.
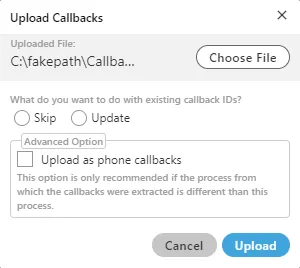
- Select any of the following options.
- Skip: Select it to skip any operation to be done on the callback-id, that is, all the Callback IDs will be the same as used before.
- Update: Select it to update the callback-id for those callbacks which have been updated in the CSV file.
- Upload as phone callback: Enable this feature if all the callbacks which you have uploaded are phone calls. It is recommended to use this option only when the process is different while uploading.
- Click "Upload" to upload the callbacks else, click "Cancel" button. The uploading process takes some time, depending upon the size of the callbacks. The following notification pop-up is displayed now, which contains the list of errors or number of records that are uploaded successfully.
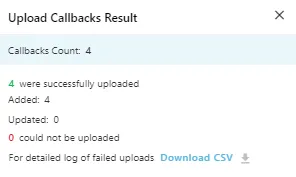
- If there is any error while uploading the callback CSV, then the supervisor can download the CSV for failure reasons, if any.
- Once the callbacks have been updated, a notification is sent to all the supervisors and agents of that campaign.
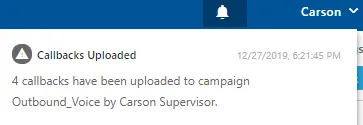
If the uploading time of callback is greater than the scheduled time of callback, then the callback will schedule to the present time.
For Example:
Suppose, the callback scheduled time is 11:00, but the callback is extracted and deleted at 10:00, and it is uploaded at 12:00, then the callback time will schedule automatically to the present time, that is, 12:00.
Changing the User Assignment of Callbacks in Bulk
There is a possibility that the agent is not present, transferred to another campaign or left the job. In such cases, the callbacks assigned to that agent will remain unfollowed. In such cases, the supervisor can assign these callbacks to another agent, so that the callbacks will not be left unfollowed.
Select those callbacks which have to be modified.
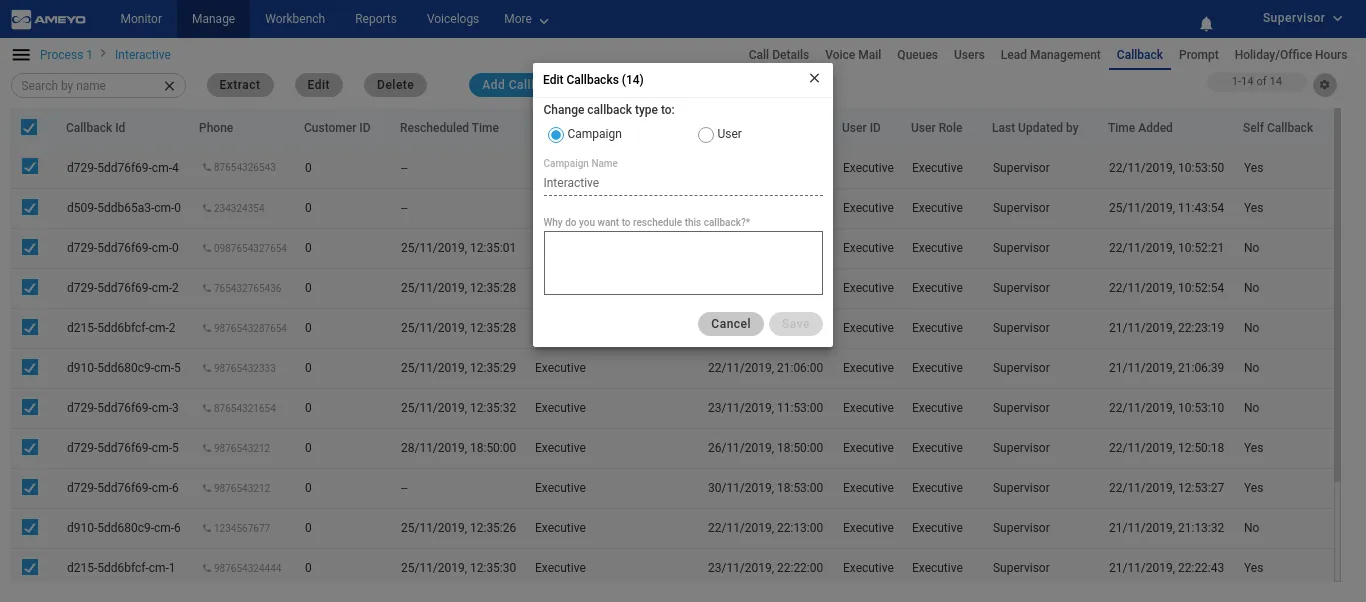
The Supervisor or Group Manager has to select the callbacks in "Callbacks" Tab and click "Edit" button to edit these callbacks in bulk. Here, you can either promote the callbacks to "Campaign" or change the user assigned to these callbacks. If the callbacks are already assigned to the multiple users, then a message is displayed in "Edit Callback" modal.
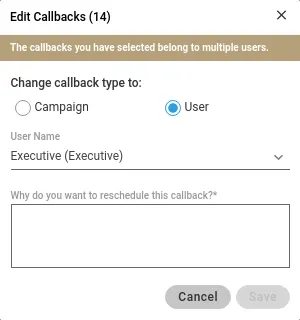
If bulk callbacks have been assigned to a user and that the user has been unassigned from the campaign, then the Supervisor still can see and manage the scheduled callbacks assigned to that user.
Toast Notifications
If the Supervisor or Group Manager changes the user assignment of the callbacks, then a toast notification is displayed to them.
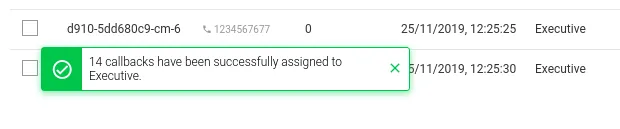
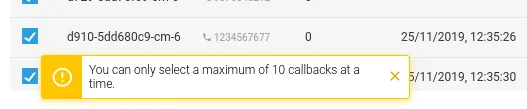
If the Supervisor or Group Manager tries to change the user assignment of the callbacks more than the configured limit, then the toast notification displays the error message.
Notification to the User Consoles
If a user is assigned the callbacks in bulk, then a notification is displayed to the console of that user.
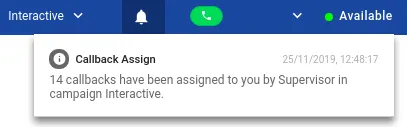
Notification will be displayed to all Supervisors in case of bulk update of callbacks. If a user has been assigned multiple callbacks then a notification will be displayed to the user.