Zoho CRM Widget App Creation and Installation Guide
11 min
Overview
This document serves as a guide to configure (for the 4.7 release and above) the Zoho Widget App at Zoho application's end. Please follow all the steps for the configuration given below.
Usage Instructions:
Step 1: Add Extension to Zoho Developer Account
- Visit Zoho Developer Console and add your extension to this URL:https://developer.zoho.com
- log in with Zoho admin credentials and Navigate to Sigma > Start Building to initiate extension development.
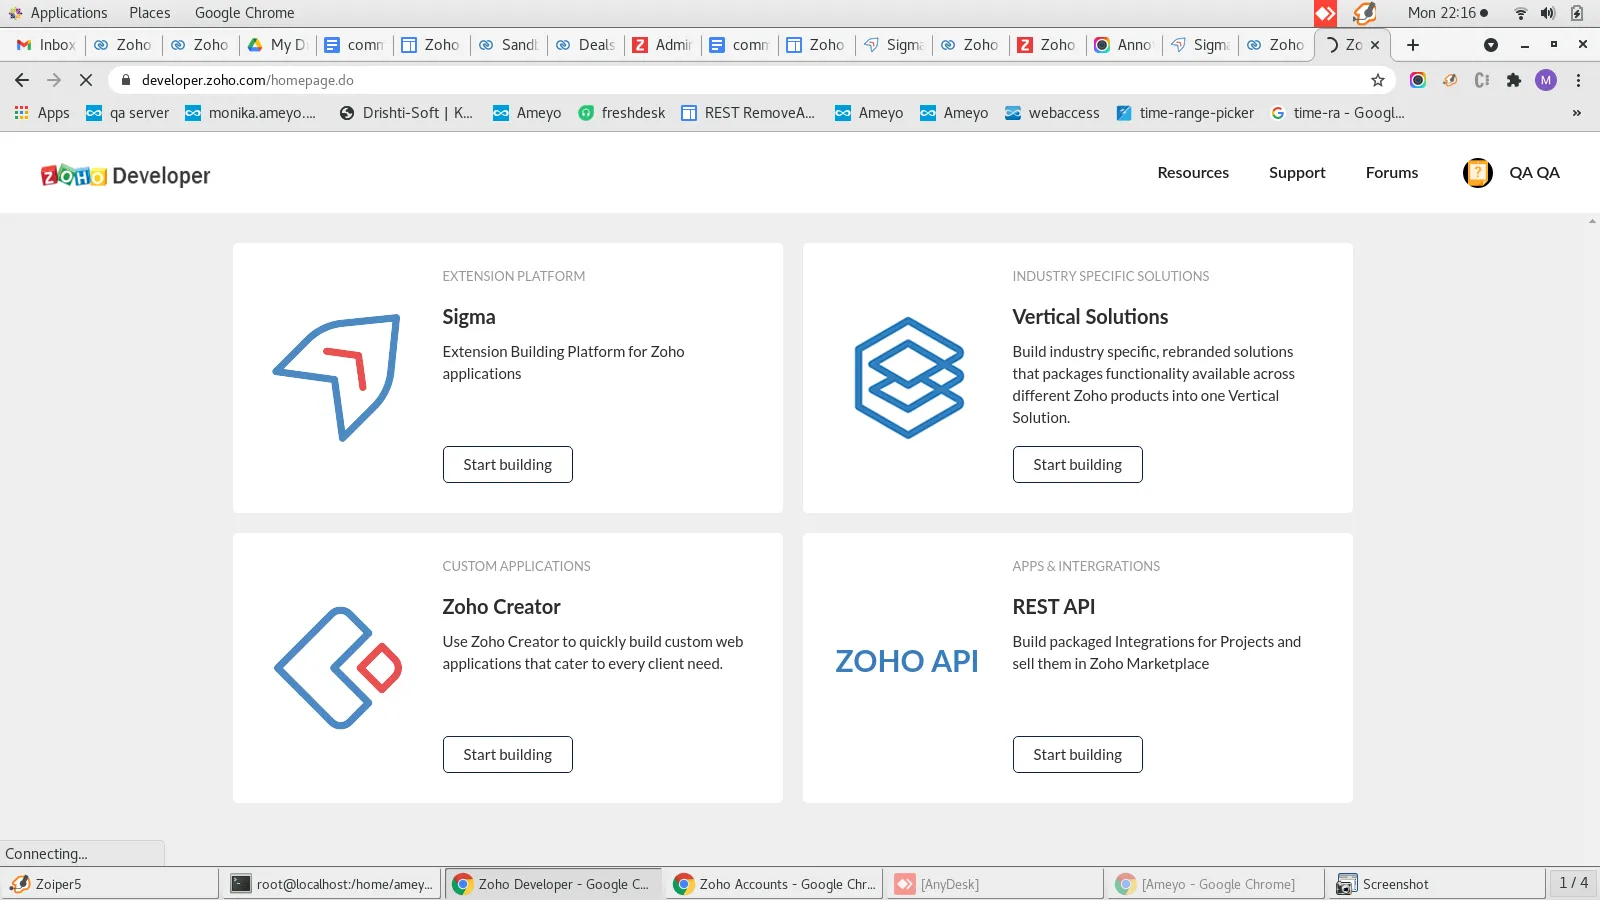
Step 2: Create a New Extension
- Click on “New Extension” within Sigma to begin setup.
- Select Zoho CRM as the target application.
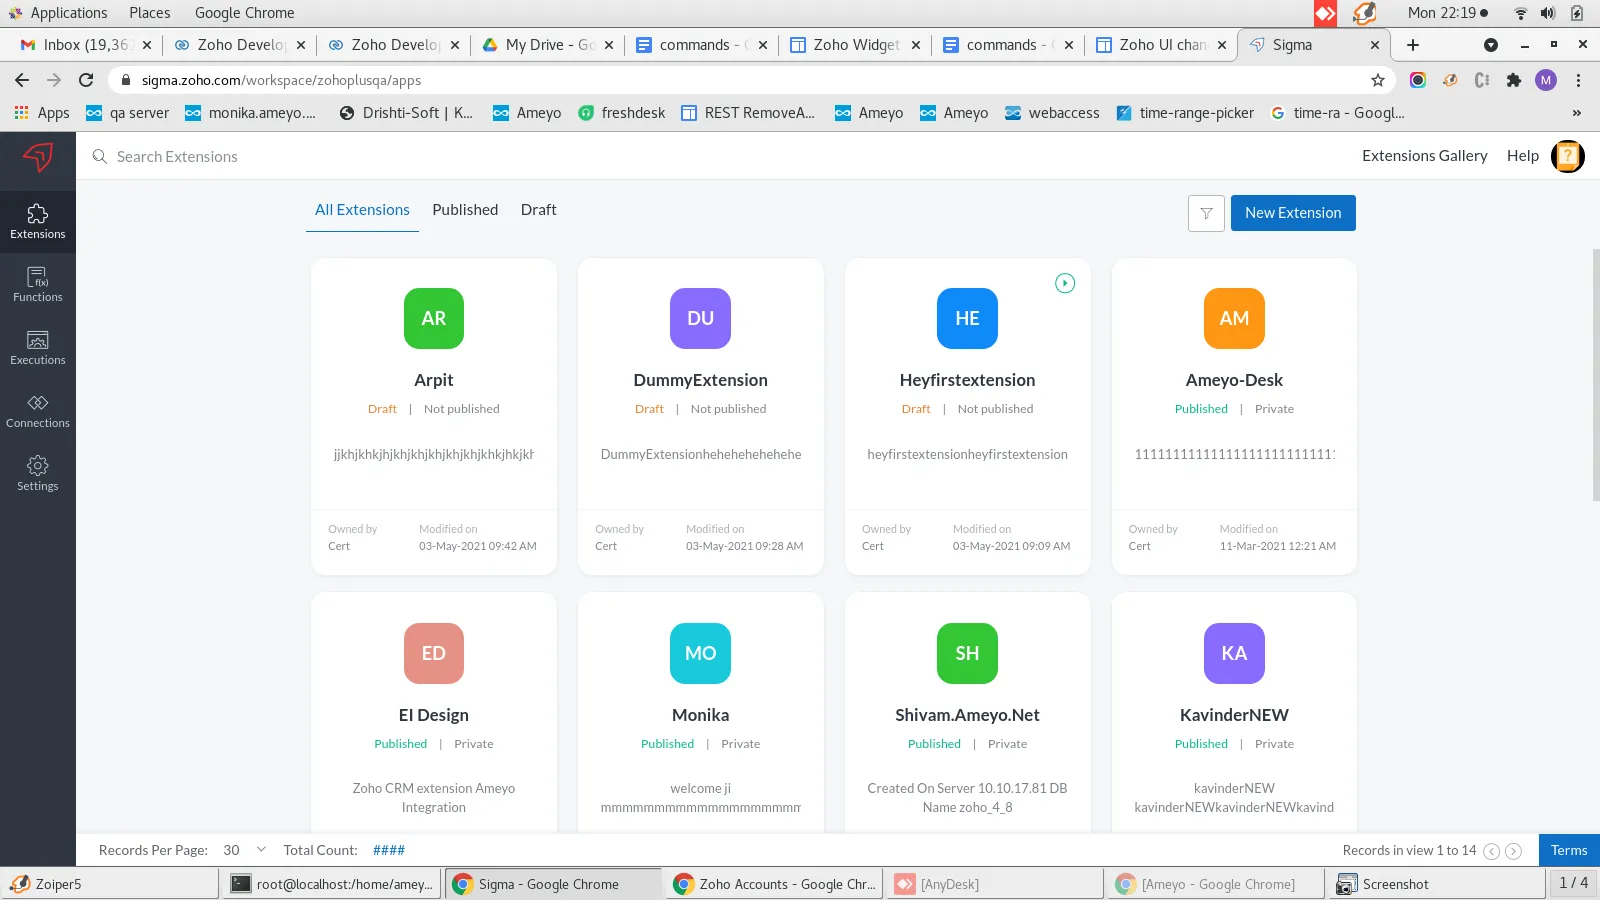
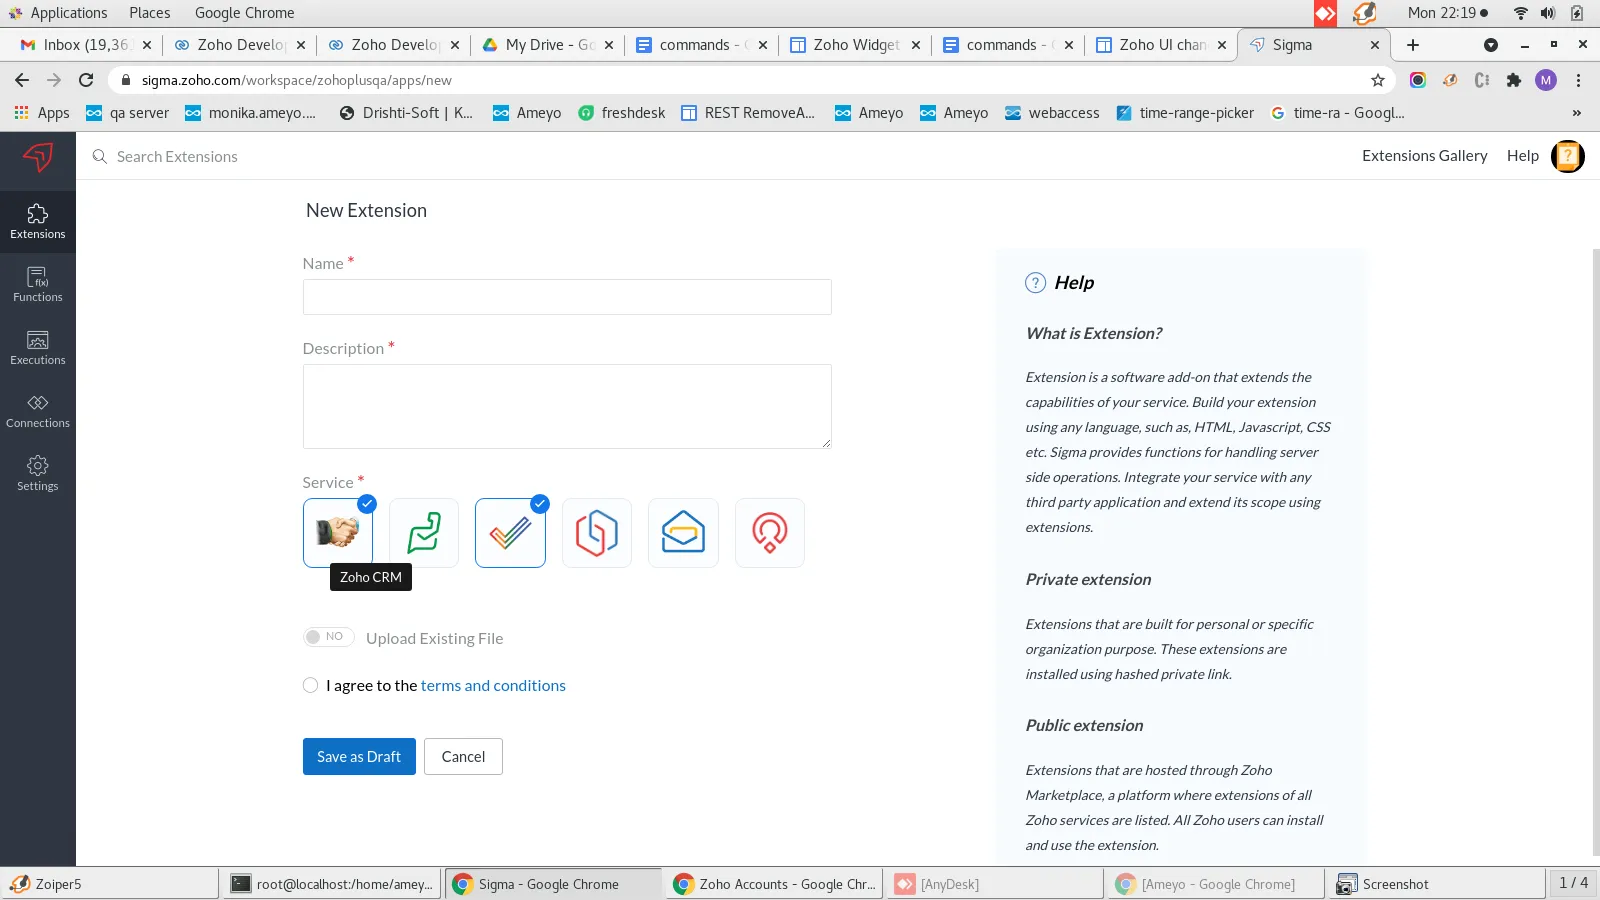
Step 3: Configure the Extension
- Fill out the required configuration fields and save your settings.
- You will be redirected to the extension management screen upon successful creation.
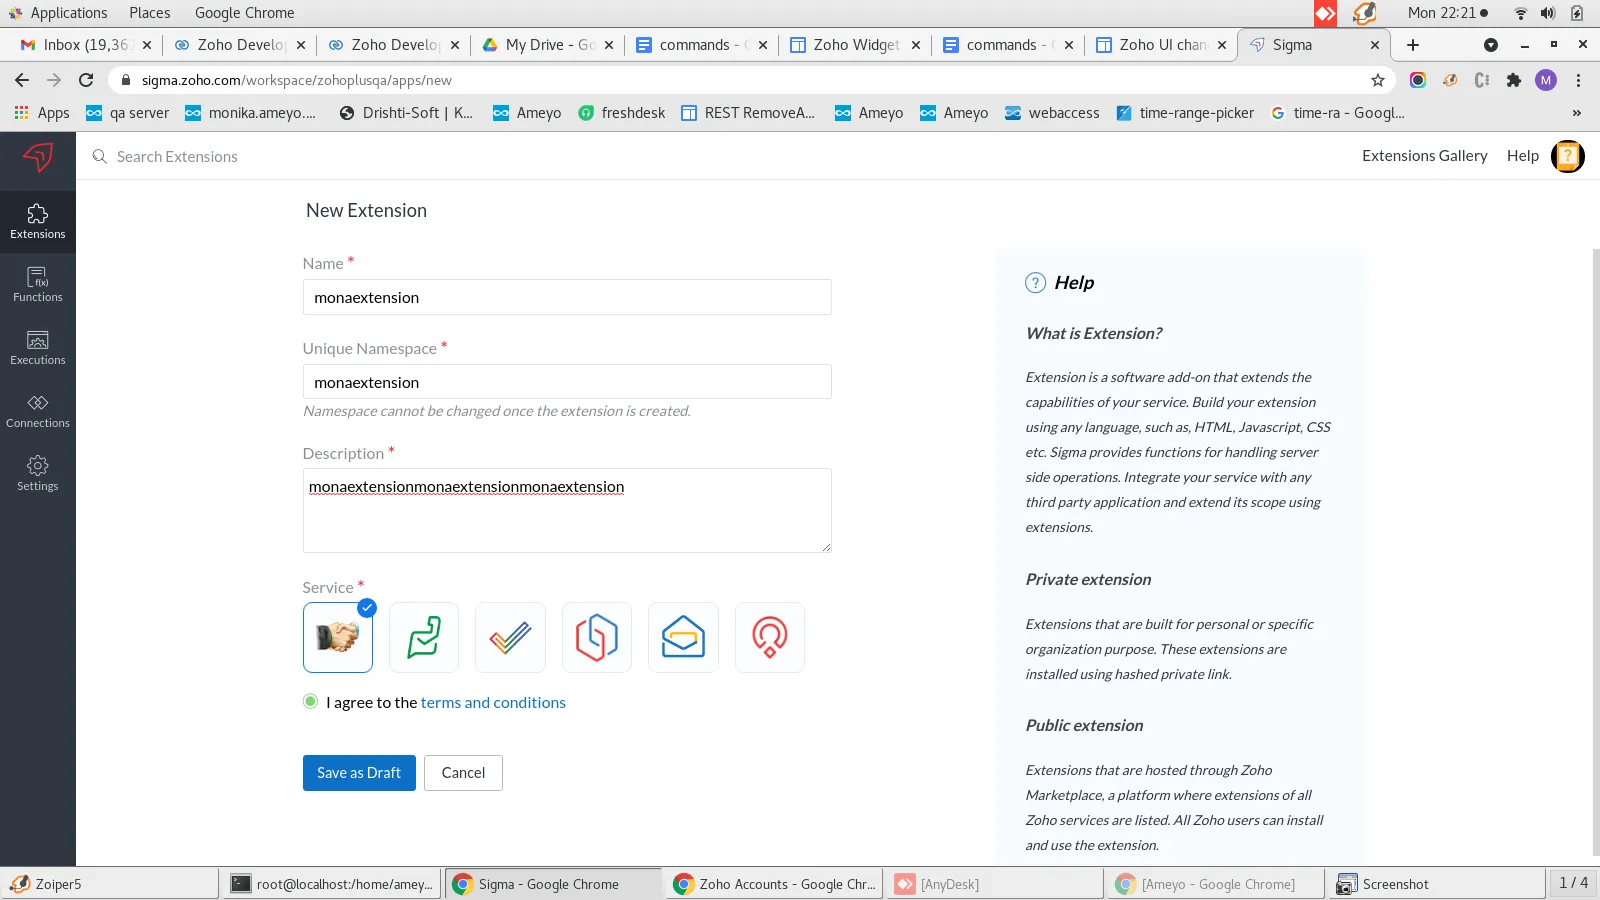
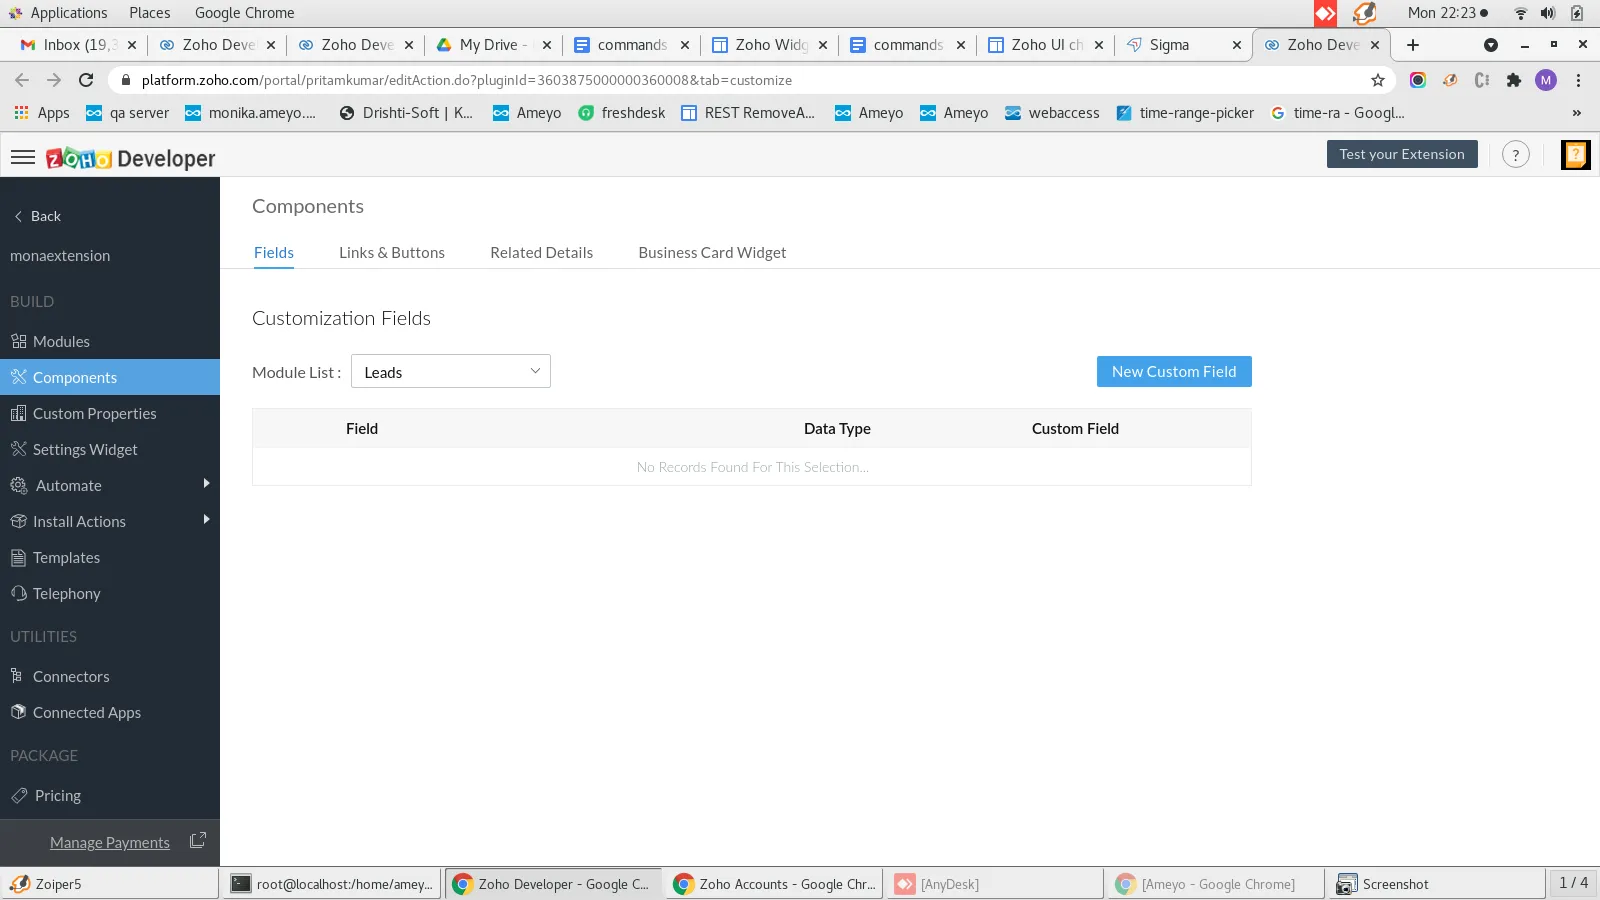
Alternative Extension Creation Path (alternative to step 1 to 3)
- Visit Zoho Platform Home.
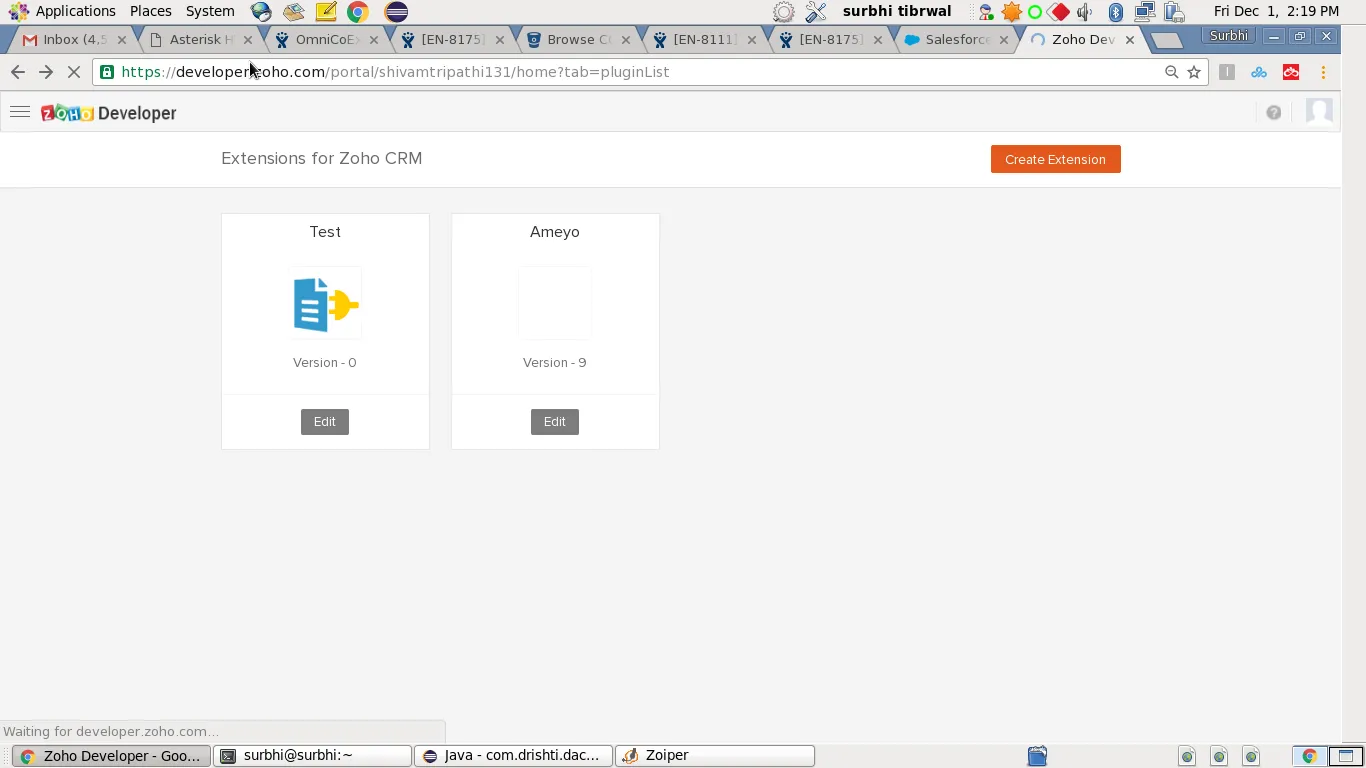
- Click “Create an Extension” and provide a unique extension name (e.g., AshwaniAmeyoCom) and namespace.
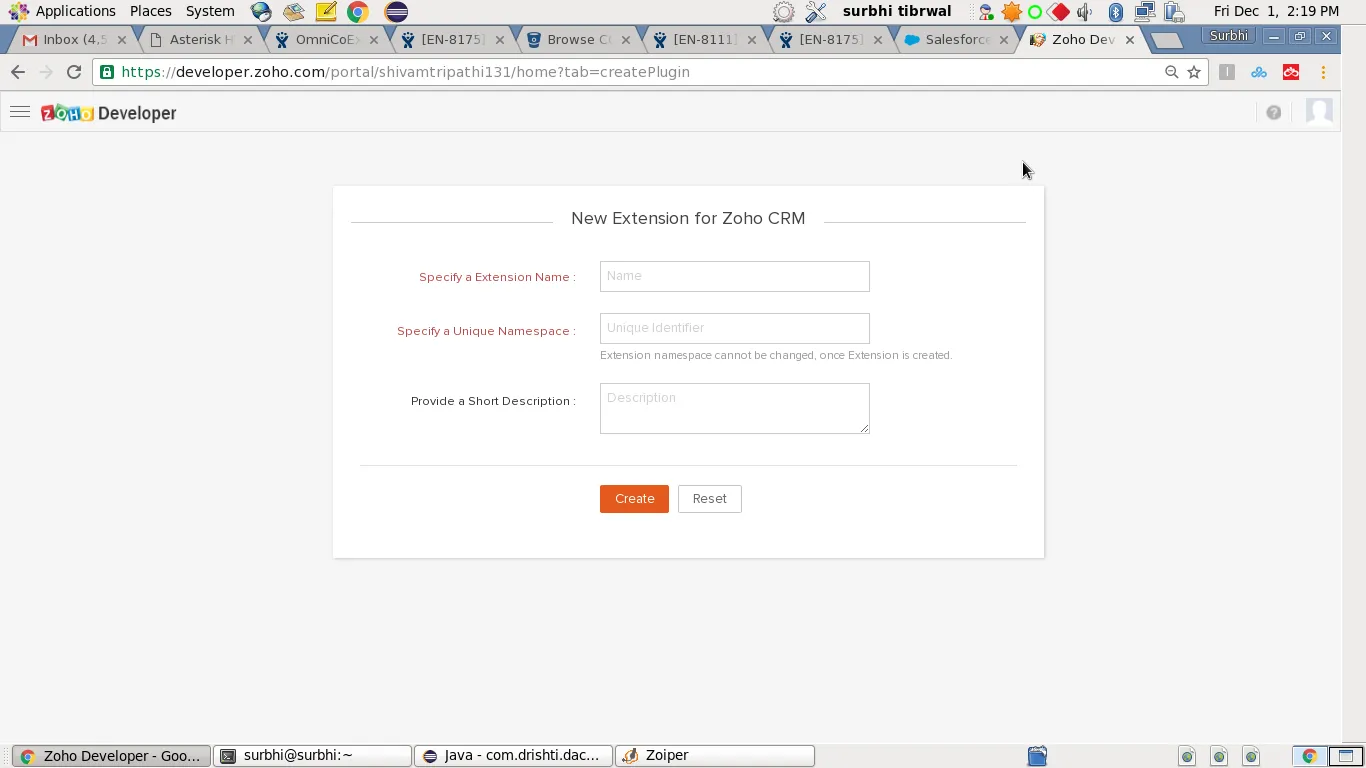
- Complete setup and click “Create”.
After Creating Extension from the above steps:
- Now go to the connected apps and provide the connected app name like Ameyo and choose the hosting i.e External Hosting
Sandbox base URL Ex: https://ashwani.ameyo.com:8443/ameyowebaccess/toolbar
- Provide the production base URL (Ex:https://ashwani.ameyo.com:8443/ameyowebaccess)
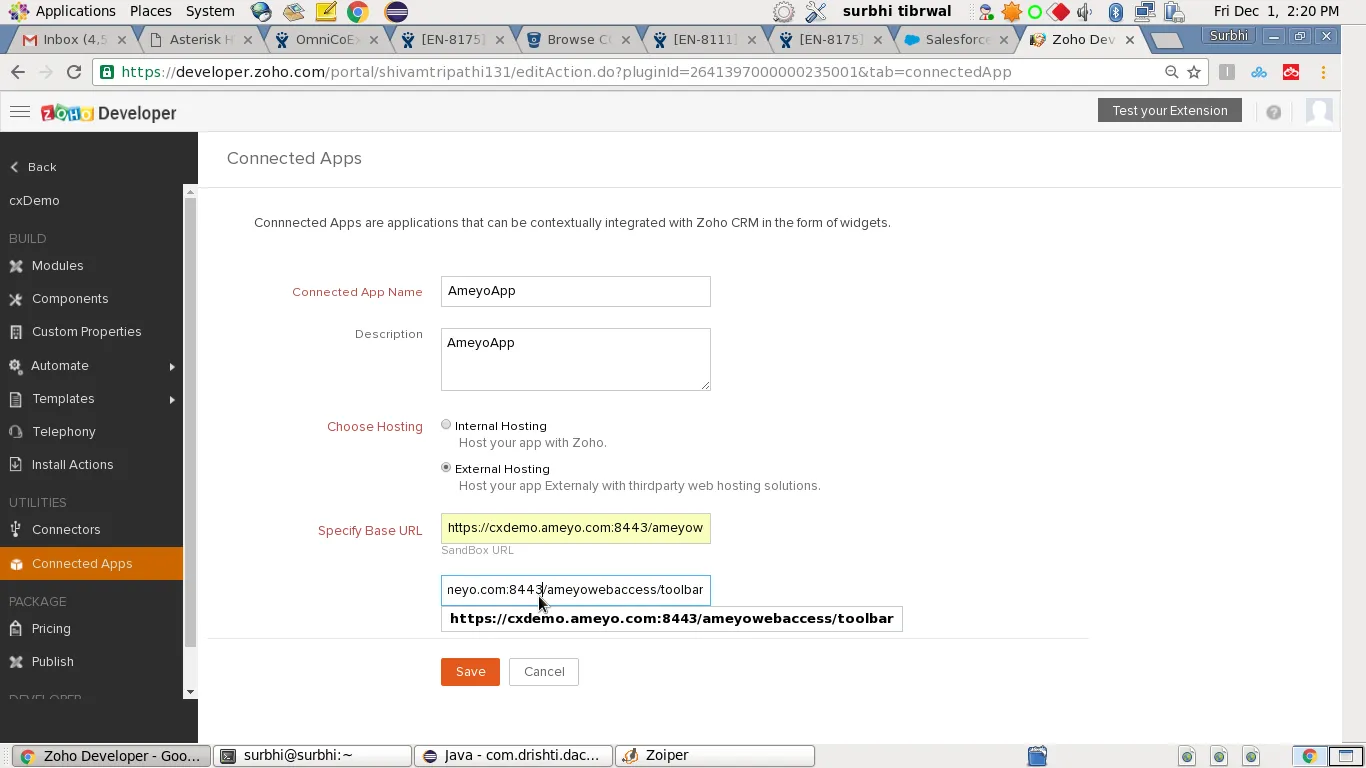
- Now go to the telephony tab from the left panel and provide the relevant information.
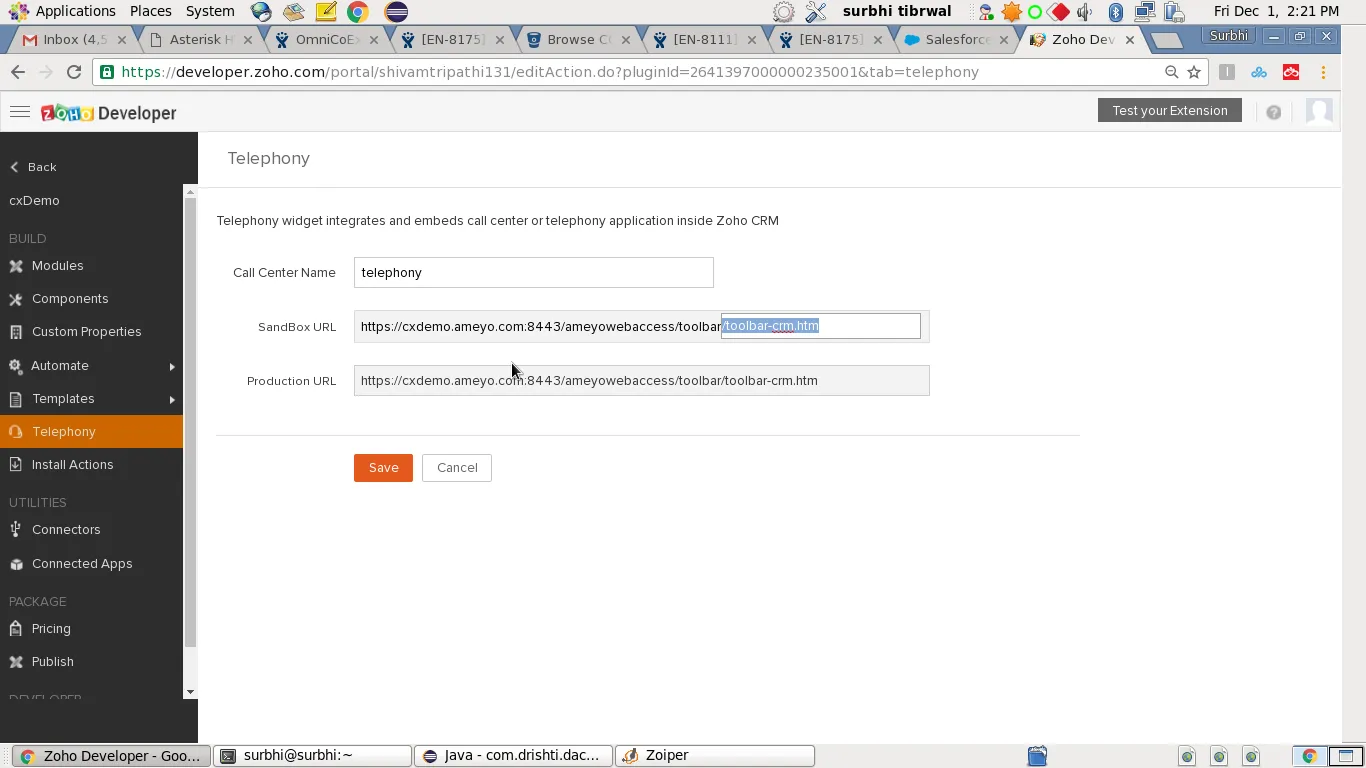
Step 4: Configuration For CRM OAuth for the SSO and CRM Authorization
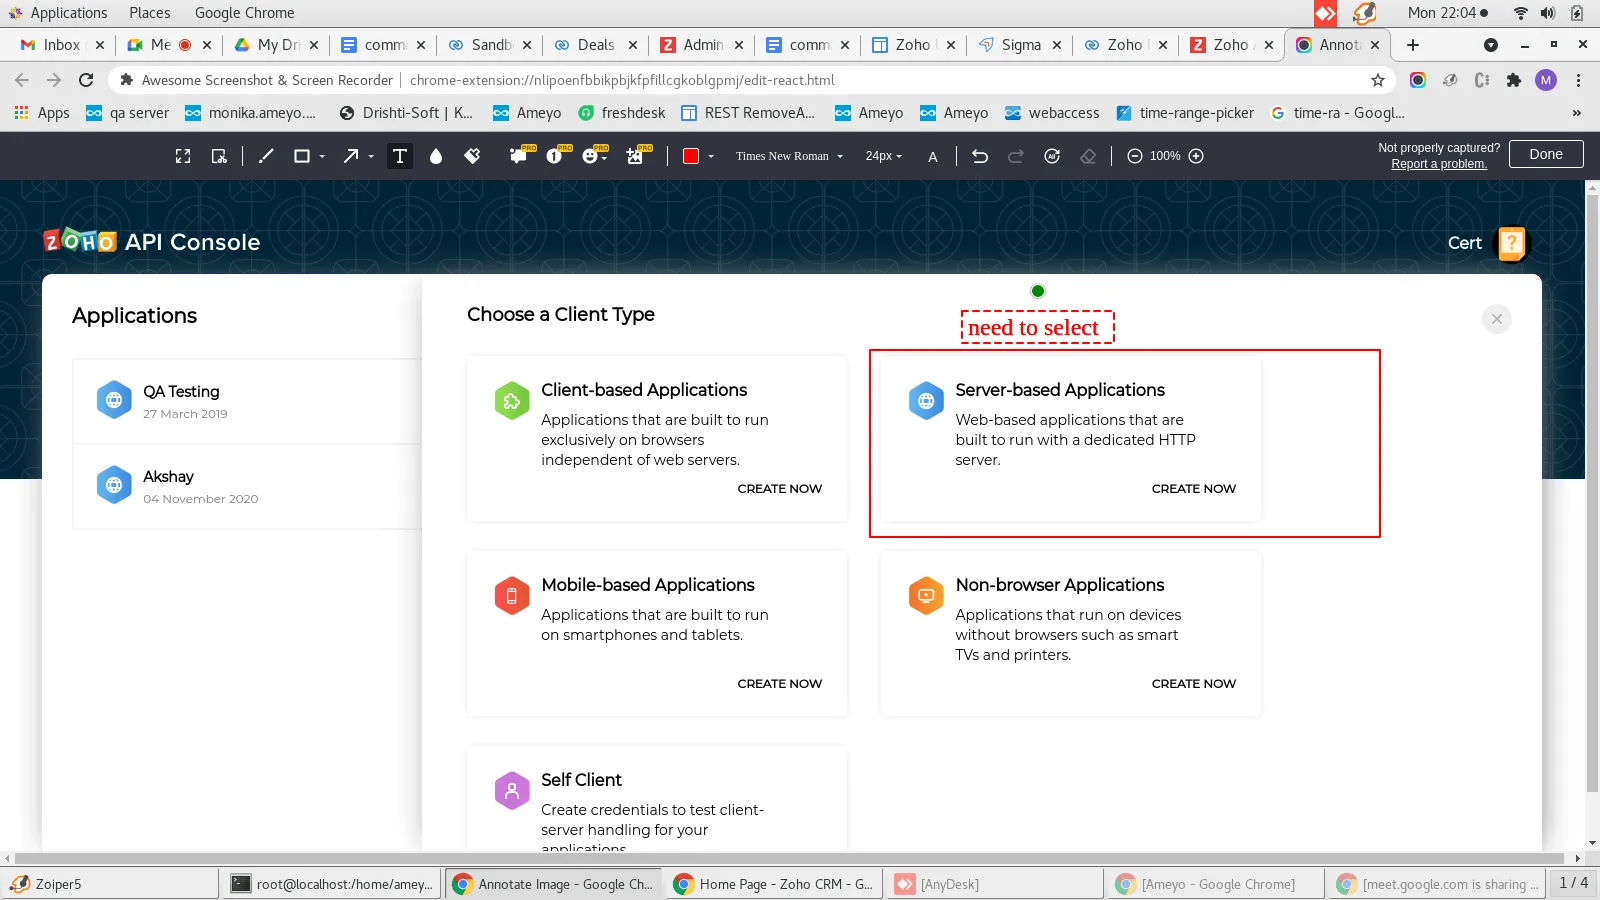
- Add a Client ID for CRM OAuth configuration.
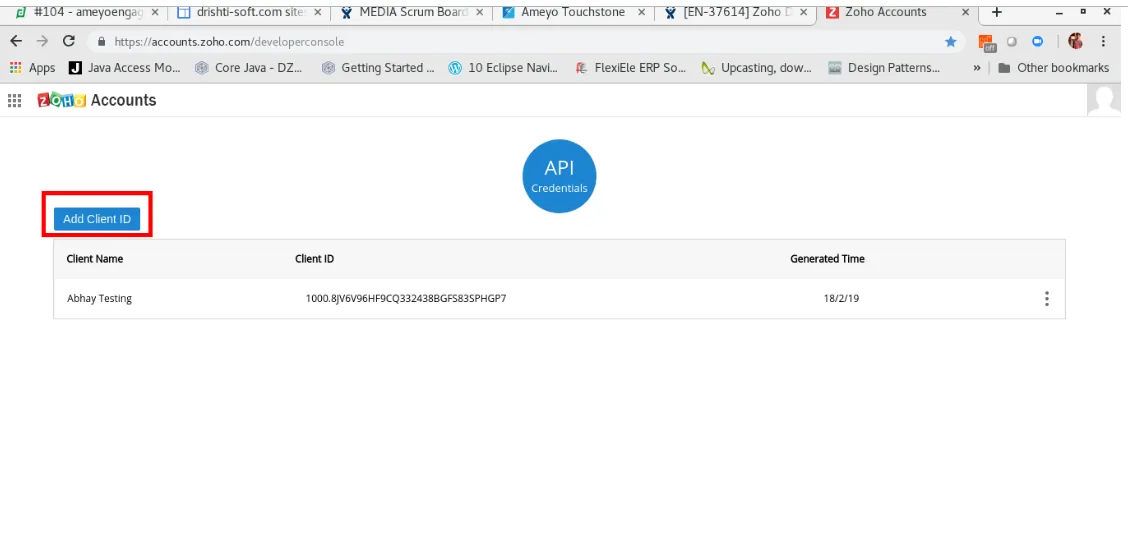
- Go to Zoho Accounts Developer Console: https://accounts.zoho.com/developerconsole to set up OAuth.
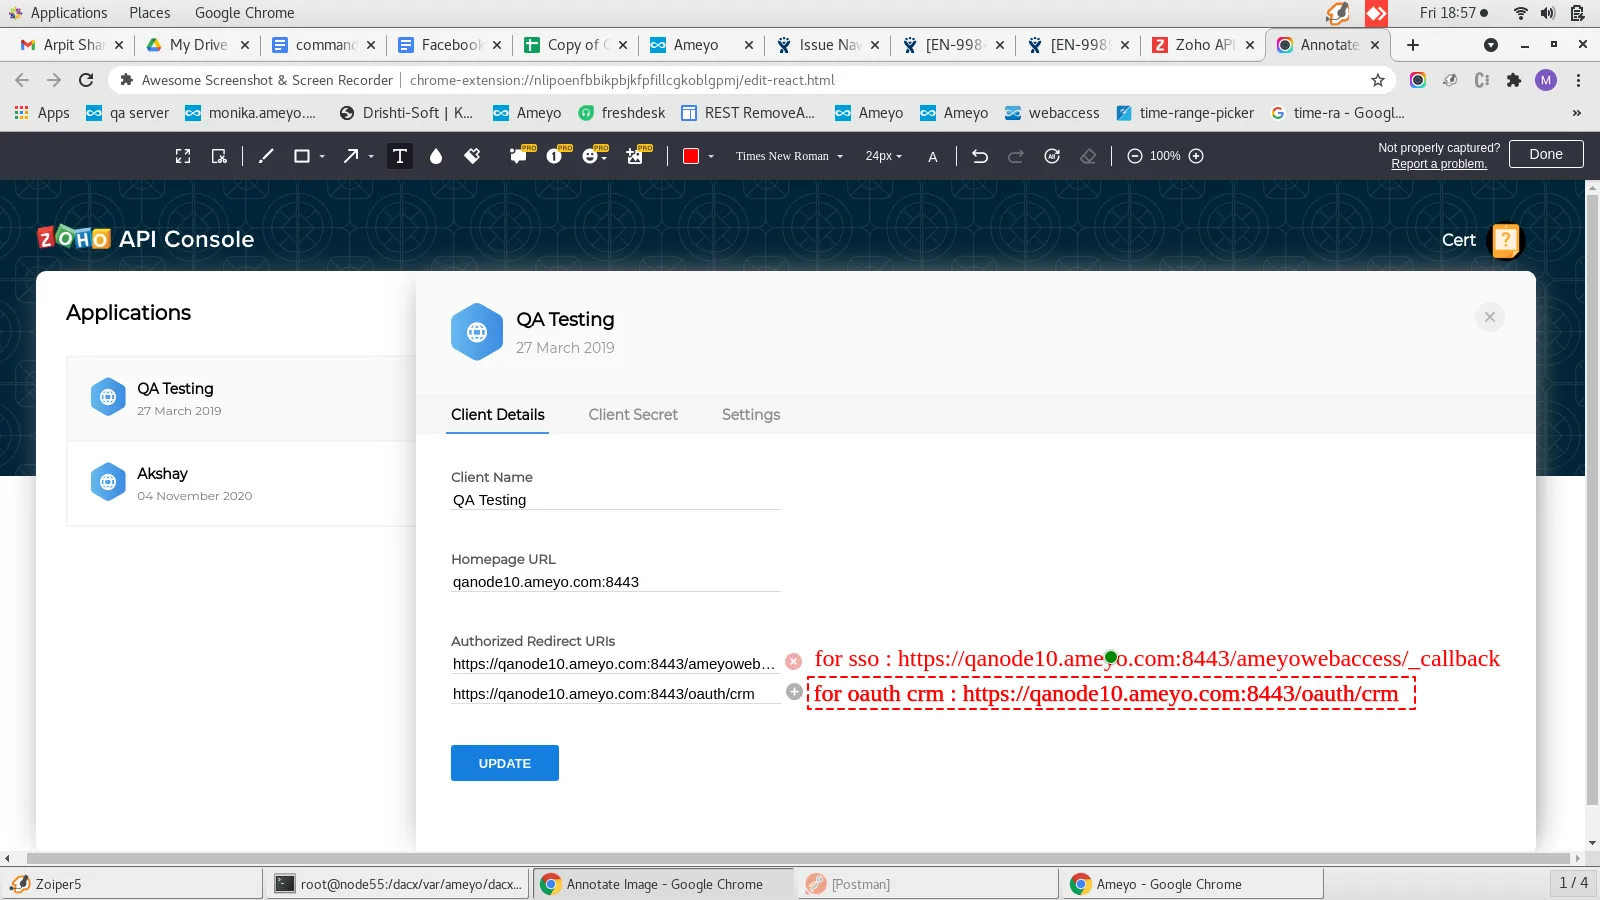
- Use your Ameyo server domain in redirect URIs.
- Pass the SSO Redirect URL example: https://qanode10.ameyo.com:8443/ameyowebaccess/_callback
- Pass the OAuth CRM Redirect URL example: https://qanode10.ameyo.com:8443/oauth/crm
- Extension Publishing and Installation
- Publish the extension and note the generated URL.
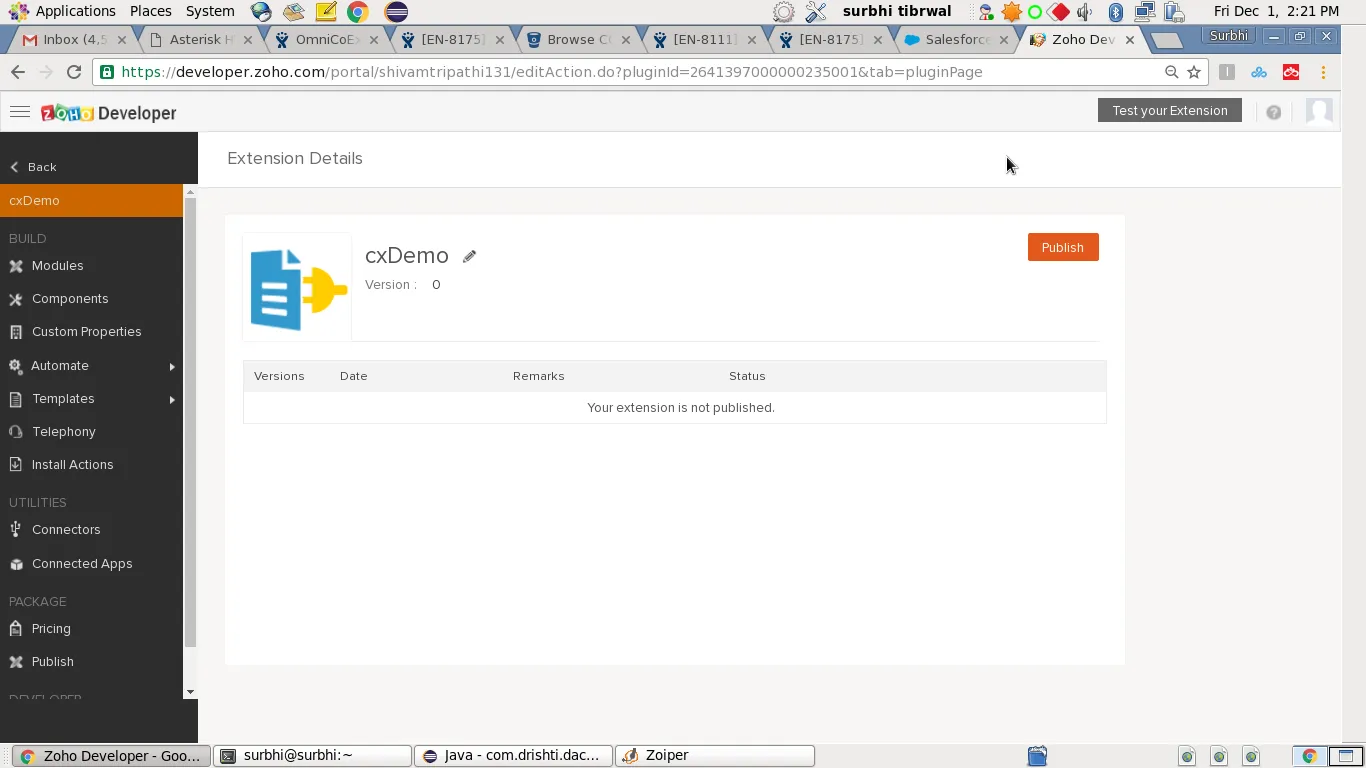
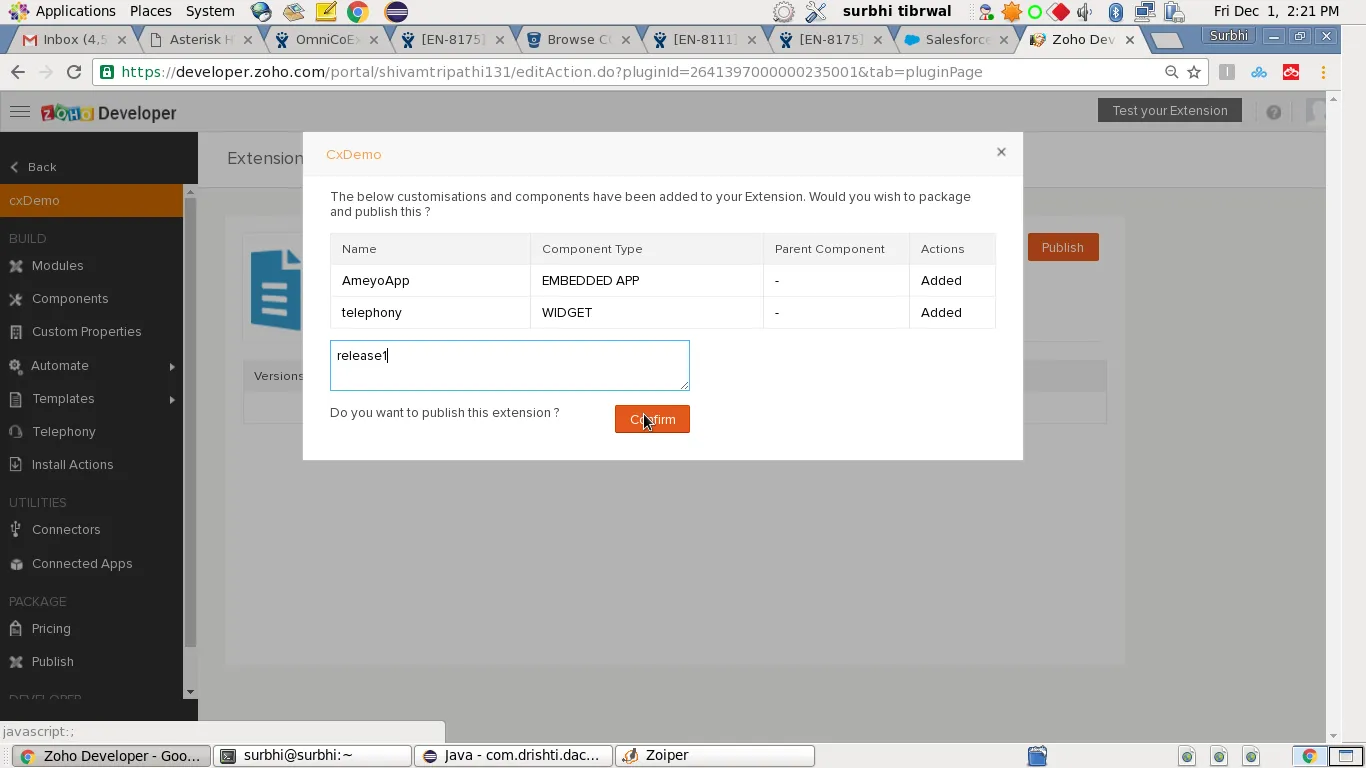
- Now you will get the URL as shown in the screenshot and click on OK.
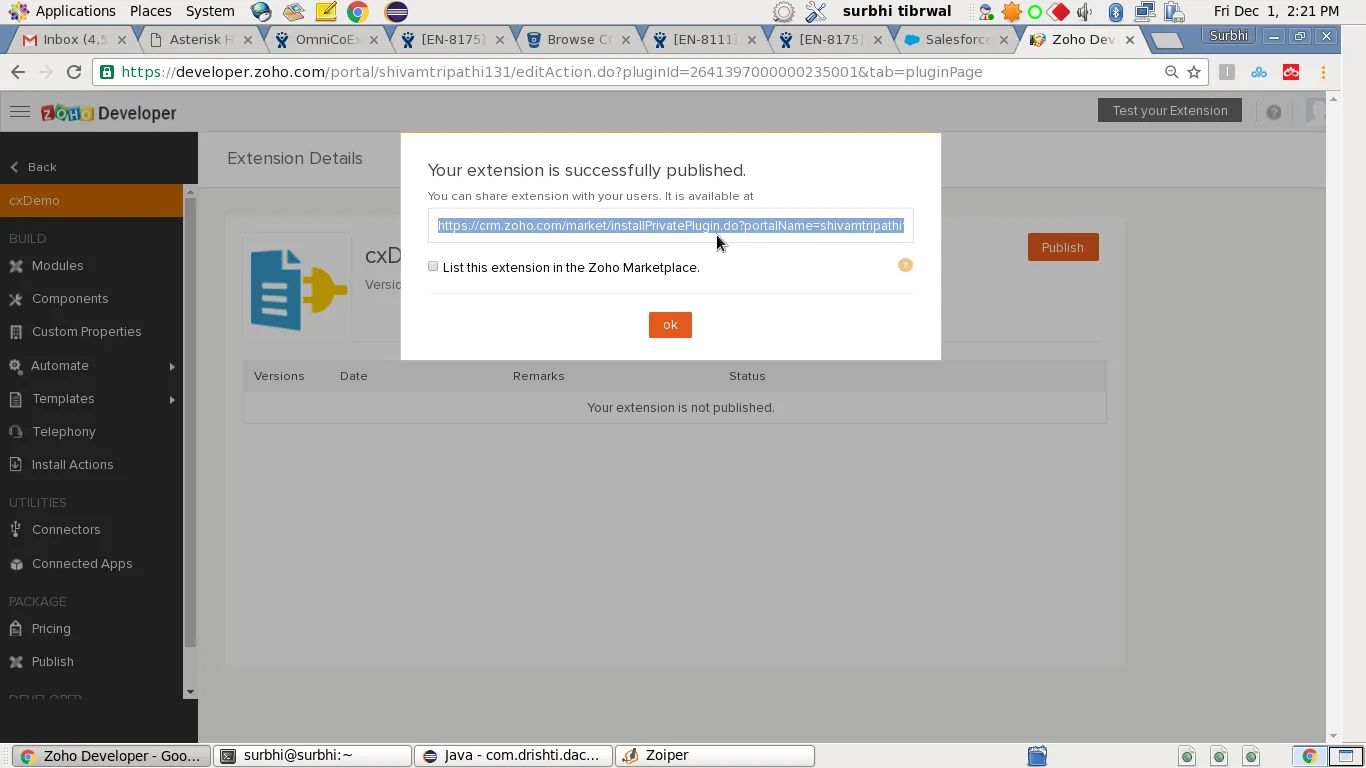
- Open the published extension URL in a separate browser tab.
- Install it on Zoho Marketplace; uninstall any conflicting CRM extension beforehand.
- Extension Activation
- Go to the Zoho CRM Settings Extensions page (adjust the URL for your server) and activate the extension. https://crmplus.zoho.com/drishtiameyo/index.do/cxapp/crm/org678879106/settings/extensions/all and change the url according to your server:
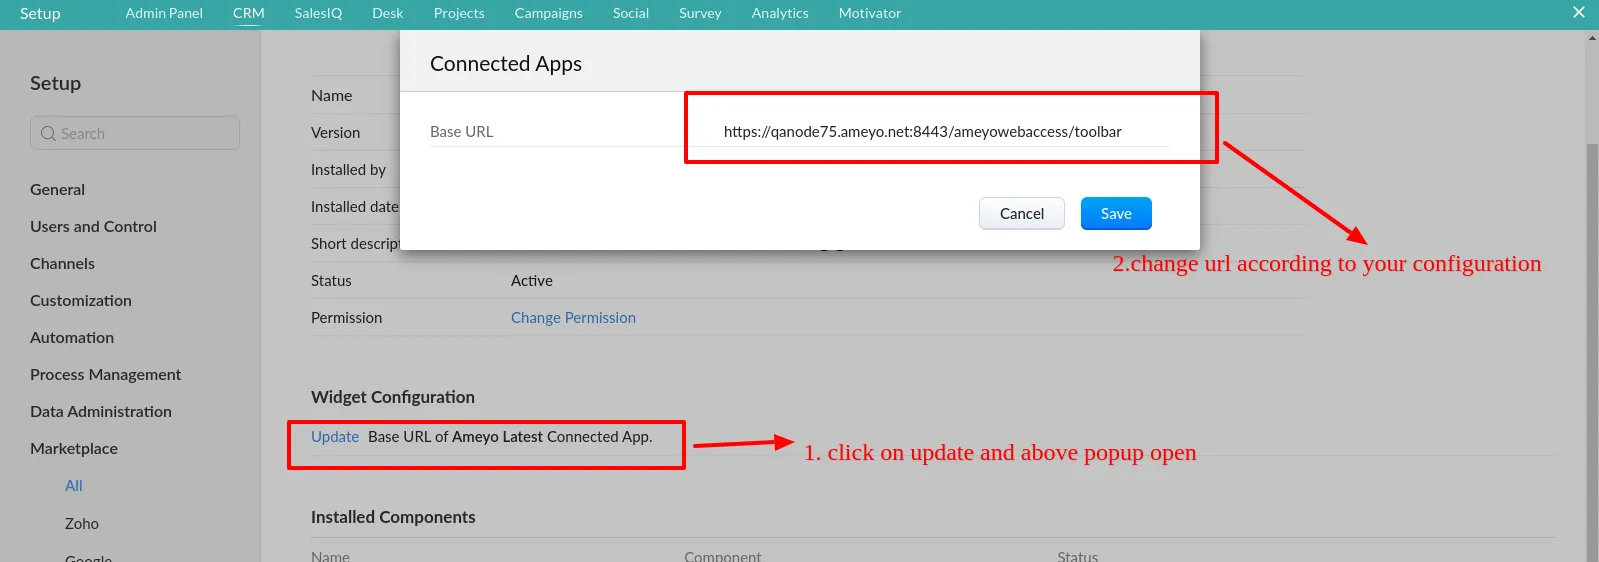
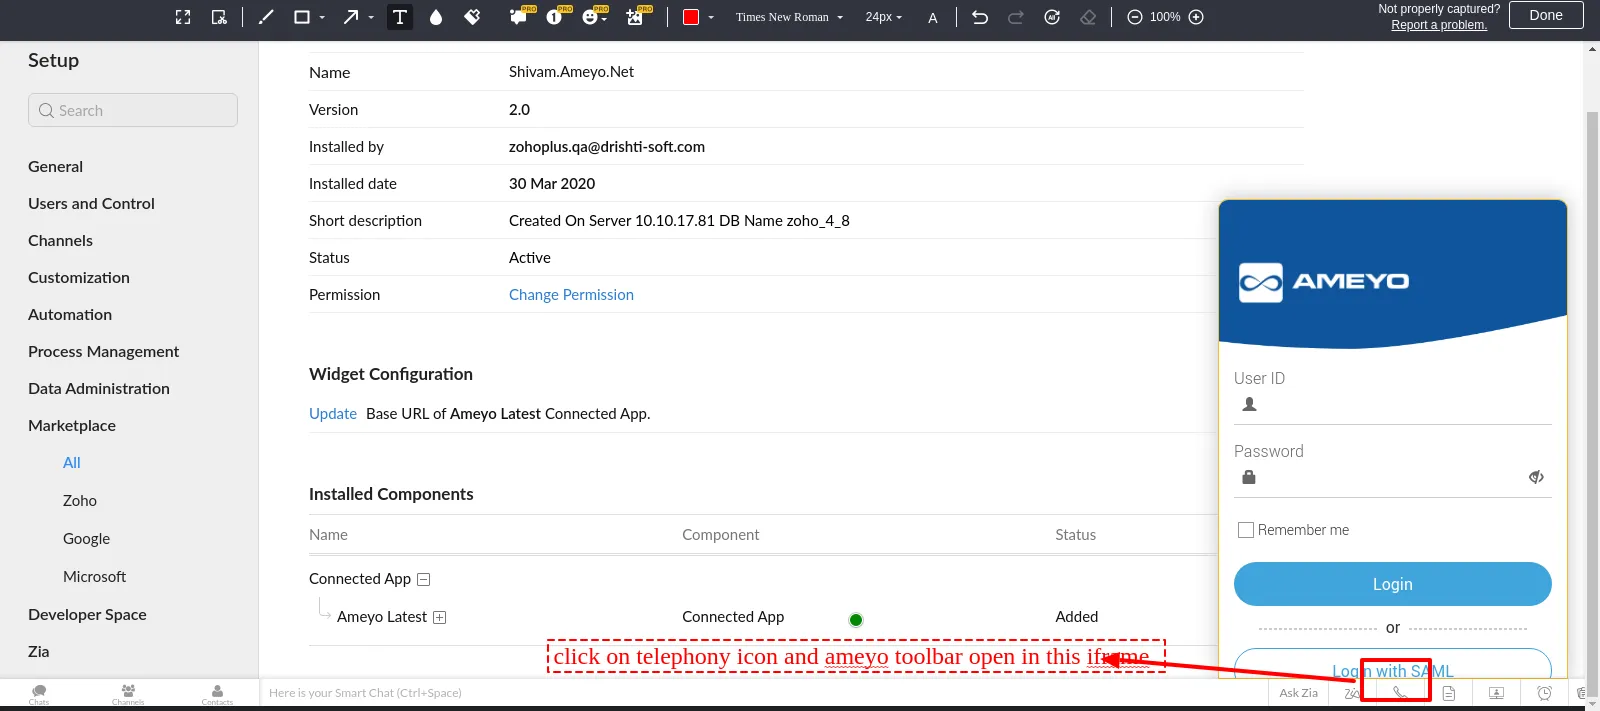
- Access the “Ameyo toolbar” via the telephony icon in Zoho.
After executing the steps mentioned in this document, there will be few configurations done at the Ameyo DB as well, for which the details will be provided by the designated project manager/engineer
Have a question?
Our knowledgeable support team and an awesome community will get you an answer in a flash.
To ask a question or participate in discussions, you'll need to authenticate first.